Posts in Food Styling
Turkey Pumpkin Chili for the Super Bowl
Southern Living's Turkey Pumpkin Chili

Turkey Pumpkin Chili for the Super Bowl

Turkey Pumpkin Chili is a great recipe for cool autumn and winter evenings, yet can rise to the occasion for an event like the Super Bowl. Easy to make, good for you, and it incorporates a wonderful medley of spices. I immediately thought of cookbook author, Samia Nosrat, whose popular book and cooking herald the virtues of combining “Salt, Fat, Acid, Heat” for maximum flavor in each recipe.

This chili has it all, and is a great way to use canned pumpkin puree leftover from your fall pantry. Make it with kidney and northern beans and pair it with Pumpkin Maple Cornbread. Make it with pinto beans and navy beans and pair it with tortilla chips, salsa, and guacamole. Either way the compliments will flow.


Turkey Pumpkin Chili

by Julia Levy

Lovingly Adapted from Southern Living Magazine, October 2021


Makes 6 servings, Total Time: 30 minutes

Ingredients

  • 2 tablespoons canola oil

  • 1 ½ cups chopped yellow onion (about 1 medium onion)

  • 1 cup chopped poblano chile (about 1 large chile)

  • 1 pound ground turkey

  • 1 tablespoon minced garlic (about 3 garlic cloves)

  • 1 tablespoon chili powder

  • 2 teaspoons smoked paprika

  • 2 teaspoons ground cumin

  • ½ teaspoon dried oregano

  • ½ teaspoon cayenne pepper (optional)

  • 2 cups chicken broth

  • 1 cup canned pumpkin (from 1 [15-ounce] can)

  • 1 (15-ounce) can fire-roasted crushed tomatoes

  • 1 (15-ounce) can pinto beans, drained and rinsed

  • 1 (15-ounce) can navy beans, drained and rinsed

  • 1 ½ teaspoons kosher salt

  • 1 tablespoon fresh lime juice (from 1 lime)

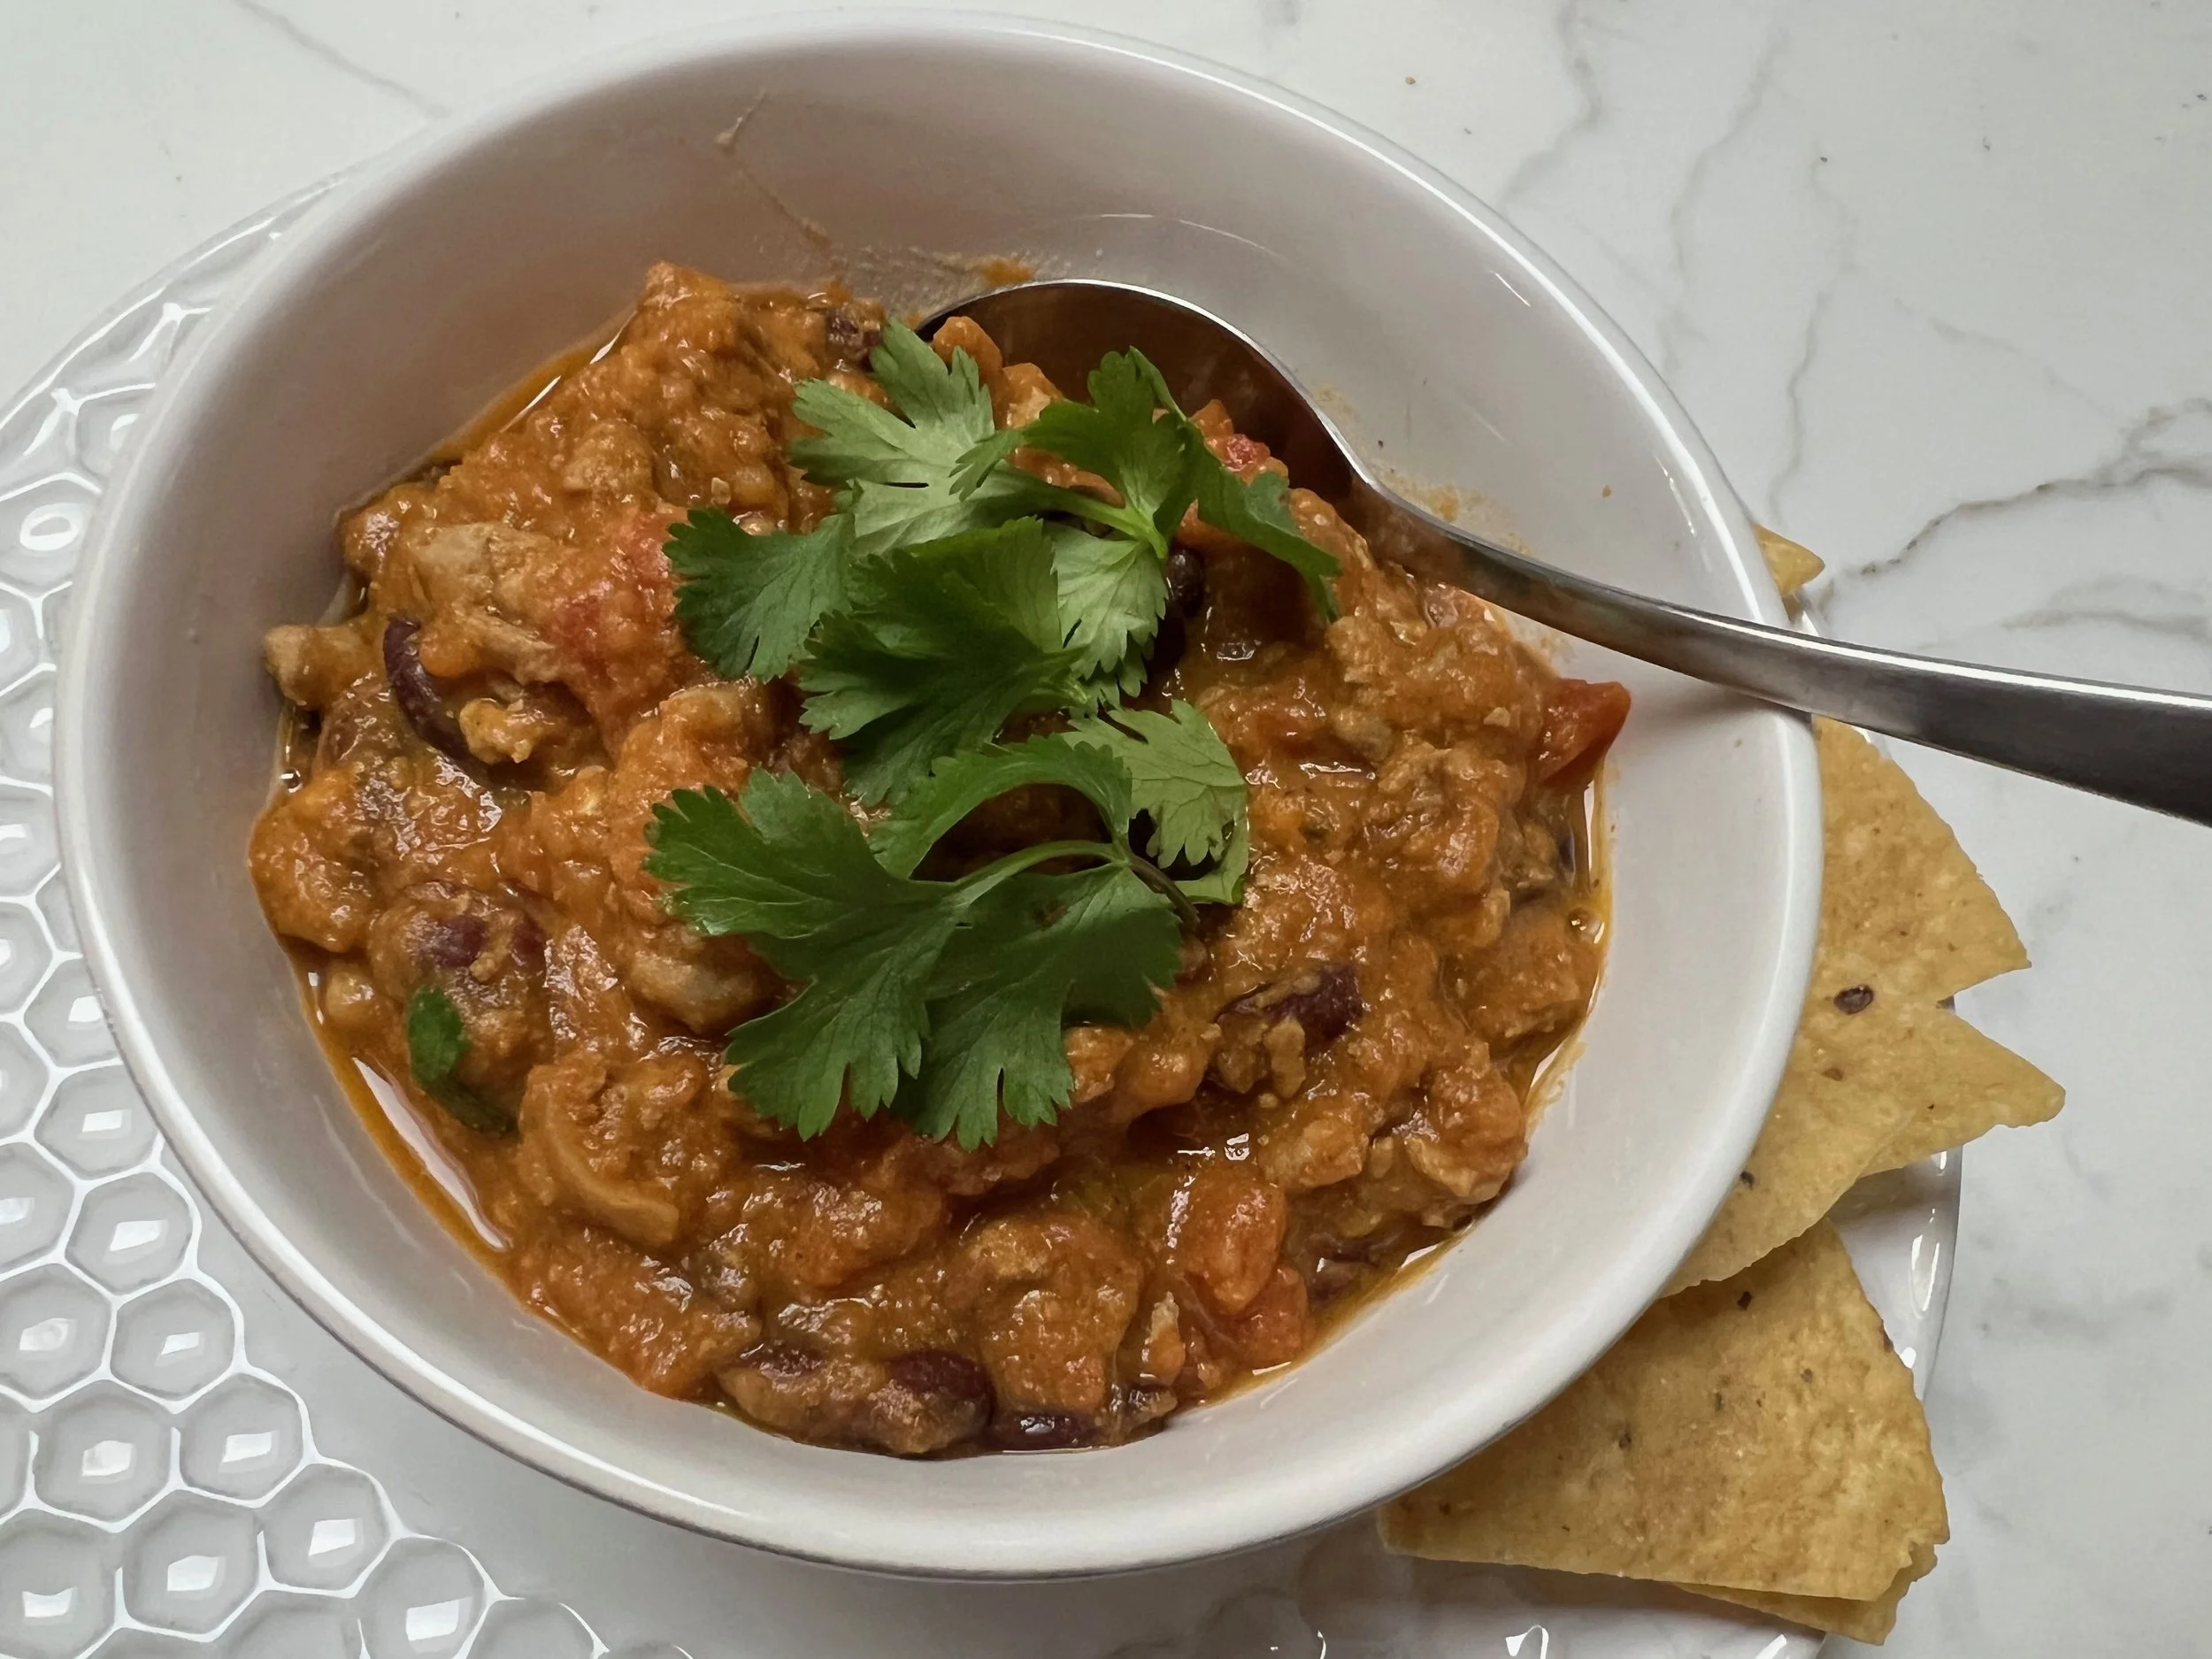
  • Toppings: chopped fresh cilantro, tortilla chips, shredded Mexican cheese blend, sour cream

Directions

  1. Heat oil in a large Dutch oven over medium-high. Add onion and poblano; cook, stirring occasionally, until softened and lightly browned, 6 to 7 minutes. Add turkey, stirring to crumble; cook until no longer pink and starting to brown, about 5 minutes. Stir in garlic, chili powder, paprika, cumin, oregano, and cayenne (if using); cook, stirring constantly, until fragrant and turkey is coated in spices, about 1 minute.

  2. Stir in broth, pumpkin, tomatoes, pinto beans, navy beans, and salt. Bring to a boil over medium-high. Reduce heat to medium-low and simmer, stirring occasionally, until thickened slightly, about 5 minutes. Stir in lime juice.

  3. Ladle chili evenly into bowls, and top with desired toppings.


Please Note: I like using pumpkin puree especially in chili, as it lends a nice creamy base without fat. I used an entire 15-ounce can of pumpkin puree. Add more chicken broth if needed, for your desired chili consistency.


Bon Appétit et Bon Weekend…Bonnie


Vanilla Lavender Canelés

Hosting a Holiday Tea A Few Years Ago

A few years ago I hosted a Holiday Tea for one of my dear garden clubs. The menu was based on 13 Desserts, a South French holiday tradition (Les treize desserts de Noël). One of the star desserts I made was Vanilla Lavender Canelés, one of the most elegant of French pastries and surprisingly easy to make. I remember how delicate these pastries tasted due to the steeping of milk, butter, vanilla bean, and culinary lavender. A delicious nod to Provence and the South France.

Please Note: You will need to have canelé molds, available on line, to make this recipe. It is important to use culinary lavender such as Provence lavender.


Vanilla Lavender Canelés

Recipe by Chelsea Zimmer

Lovingly Adapted from Sweet Paul magazine, Winter 2013


Ingredients:

 2 cups milk

4 tablespoons unsalted butter, plus more for molds

1 vanilla bean, scraped

1 Tbsp dried culinary lavender

½ cup, plus 1 Tbsp flour

2 cups sugar

¼ tsp salt

2 eggs

2 egg yolks

1 Tbsp whiskey

2 cannelé molds (twelve molds to a pan)


Directions:

In a medium pot, bring milk, butter, vanilla bean, and lavender to boil.  Remove from the heat and let steep for 10 minutes.  Meanwhile, in a large bowl whisk the flour, sugar, salt, and eggs.  Strain the warm milk mixture, slowly whisking it into the flour mixture.  Stir in the whiskey.  Let this cool in the fridge until chilled, about an hour. If you want to speed up the chilling process, set your bowl over an ice bath and stir occasionally for 20 minutes.


Preheat the oven to 500 degrees F.  Place 2 cannelé molds on a large baking sheet and lightly brush them with melted butter. Pour the batter 2/3 of the way up each mold. Bake for 5 minutes.  Lower the oven to 375 degrees F. and continue baking for 1 hour until your canelés are golden brown. Turn out onto wire racks while hot and cool to room temperature. Makes 30.

 
Copper Canelé Molds

There Are Various Canelé Molds—Even Copper

The holidays are a great time to bake different specialty desserts and cookies from other countries besides French Canelés, such as Austria’s Linzters, Italy’s Biscotti, and Mexican Wedding Cakes. Be adventurous, they just might become a new tradition for your family.

Bon Appétit et Bon Weekend….Bonnie

Swirled Pumpkin and Cream Cheese Tart

Like A Piece Of Art, This Tart Is Ready For Oven

My eye caught this recipe because I love tarts, I love pumpkin, and I love recipes that have a “wow” factor. This recipe from Victoria magazine 2018 has all three. To plan ahead, this recipe calls for cooling in the refrigerator the finished tart for 4 hours before serving.

Swirled Pumpkin and Cream Cheese Tart

Lovingly Adapted from Victoria 2018 Magazine

Makes 1 (10-inch) Tart

For Crust:

1-3/4 cups crushed gingersnap cookies

1/2 cup finely chopped walnuts

3 tablespoons firmly packed brown sugar

1/4 teaspoon ground cinnamon

6 tablespoons butter, melted


For Pumpkin Filling:

1 (15-ounce) can pure pumpkin , preferably Libby’s

1/2 cup granulated sugar

2 large eggs

1 egg yolk

2 teaspoons pumpkin pie spice

1 teaspoon vanilla extract

3/4 cup heavy whipping cream


For Cream Cheese Swirl:

4 ounces cream cheese, softened

3 tablespoons granulated sugar

1 egg yolk

1/4 cup heavy whipping cream


Garnish:

Sweetened whipped cream

Fresh mint leaves


Directions:

1) Preheat oven to 350 degrees F.

2) For crust: in a large bowl, stir together crushed cookies, walnuts, brown sugar, and cinnamon. Add melted butter, stirring to combine. Press mixture into bottom and up sides of a 10-inch tart pan with removable bottom. Recipe Note: I crushed cookies in a food processor to get a fine crumb texture. I would also add the walnuts in the food processor to get a finer walnut texture for the crust. Place a baking tray with parchment paper under the crust while baking. Bake for 12 minutes. Set aside to cool.

3) For pumpkin filling: In a separate large bowl, whisk together pumpkin, sugar, eggs, egg yolk, pumpkin pie spice, and vanilla extract. Add cream, whisking until mixture is smooth. Pour into cooled crust.

4) To prepare cream cheese swirl: In a medium bowl, beat cream cheese and sugar with a mixer at medium speed until creamy. Add egg yolk, beating until mixture is smooth. Beat in cream. Drop cream cheese mixture over pumpkin mixture by tablespoonfuls. Gently swirl mixture with a knife.

5) Bake until center is set, 35 to 40 minutes. Recipe Note: The tart filling mixture is full in your tart pan. Place a baking tray with parchment paper below your baking tart while baking. Let cool completely. Cover and refrigerate for at least 4 hours before serving. Garnish serving with sweetened whipped cream and fresh mint, if desired. Enjoy!


Bon Appétit et Bon Weekend…Bonnie

Autumn Morning Glory Muffins

Morning Glory Muffin With Fruit

Evidently the Morning Glory Muffin recipe has been around for a while, but is new to me this fall. I saw this recipe recently from my saved October 2018 Victoria magazine.

Ina Garten has a similar Morning Glory Muffin recipe which she made famous at Barefoot Contessa. There are a few different ingredients such as using all-purpose flour instead of whole wheat flour and adding sweetened shredded coconut. Garten’s recipe was inspired by the muffins made at the Morning Glory Cafe on Nantucket. You can also find this recipe in her cookbook, Cook Like A Pro.

Regardless of which recipe you use, this comforting muffin is full of goodies with grated carrots, Granny Smith apples, crushed pineapple, raisins, pecans, and more. One could describe the Morning Glory Muffin as similar to eating a piece of carrot cake without the icing.


Morning Glory Muffins

Lovingly Adapted from Victoria 2018 Magazine

Ingredients:

1-1/2 cups whole wheat flour

1/2 cup old-fashioned oats

1 cup firmly packed brown sugar

2 teaspoons ground cinnamon

1 teaspoon baking powder

1 teaspoon baking soda

1/2 teaspoon salt

2 cups grated carrots

1 cup cored and grated Granny Smith apple

1 (8-ounce) crushed pineapple, drained

2/3 cup vegetable oil

3 large eggs

1/2 cup chopped pecans

1/2 cup raisins

Directions:

Preheat oven to 375 degrees F. Line 9 jumbo muffin cups with paper or foil liners. Recipe Note: I used the standard muffin tin with tulip papers, which made approximately 16 muffins total. Amazon has a nice assortment of tulip liners for baking.

In a large bowl, stir together flour, oats, brown sugar, cinnamon, baking powder, baking soda, and salt.

In a medium bowl, stir together carrot, apple, pineapple, oil, and eggs. Add to the flour mixture, stirring until combined. Stir in pecans and raisins. Spoon batter into prepared muffin cups.

Bake until a wooden pick inserted in center comes out clean, 25 to 30 minutes. Recipe Note: I baked muffins for about 20 minutes because they were standard muffin size and not jumbo muffins. Let cool in pan for 10 minutes. Remove from pan, and let cool slightly on wire racks. Remove paper or foil liners for serving if desired. Recipe Note: I like the tulip liners, so kept mine on. Enjoy!


Bon Appétit et Bon Weekend….Bonnie

Zesty Pumpkin Soup

Zesty Pumpkin Soup Using Libby’s Pure Pumpkin

Last year I helped put on a fall potpourri workshop for one of my garden clubs. Besides the workshop, my dear friend and I also created a lunch for everyone to enjoy afterwards and called it “Pumpkin Potpourri Picnic.” The menu was pumpkin-themed from the appetizer to dessert, and needless to say, it was a big hit!

Featured on our menu was Zesty Pumpkin Soup, originally a recipe from Libby’s Pure Pumpkin can many, many years ago. This subtle pumpkin soup is so tasty with the right mix of flavors, and ease in making. I love this recipe because it lets the wonderful flavor of the pumpkin shine through.

Two “must use” secret ingredients in this recipe, are the Libby’s Pure Pumpkin and Spice Islands Curry, both found on amazon and at most grocery stores.

Last fall I shared with you another recipe from this menu, Pumpkin Maple Cornbread, which is a perfect complement for this delicious soup. Enjoy!


Zesty Pumpkin Soup

Lovingly Adapted From Libby’s Pure Pumpkin Can

Ingredients:

¼ cup butter

1 cup chopped onion

1 clove garlic, crushed

1 tsp. curry powder (Spice Islands Curry—the best)

½ tsp. salt

1/8 to ¼ tsp. ground coriander

1/8 tsp crushed red pepper

3 cups chicken broth

1-3/4 cup (16oz) Libby’s Pure Pumpkin

½ cup half and half cream

Sour Cream & Chives (optional)


 Directions:

In large saucepan, melt butter, sauté onion and garlic until soft. Add curry powder, salt, coriander, and red pepper. Cook 1 minute. Add broth. Boil gently uncovered 15-20 minutes.

Stir in pumpkin and half and half. Cook 5 minutes. Pour into blender and blend until creamy.

Serve warm. Garnish with dollop of sour cream and snipped chives.


 Related Past Post:

Pumpkin Maple Cornbread

Bon Appétit et Bon Weekend…Bonnie

Chopped Salad Pasta
Chopped Salad Pasta

Adapted from Simple Pasta by Odette Williams

Chopped Salad Pasta is a wonderful recipe that is so versatile. It is virtually an antipasto pasta salad with complementary flavors of salami, chickpeas, fontina cheese, pepperoncini with a nice foundational vinaigrette dressing. I first saw this recipe in the Wall Street Journal, which was lovingly adapted from Simple Pasta by Odette Williams. The beauty of this recipe is you can easily substitute various ingredients to suit your taste and what might be in your pantry. For instance, you can swap out salami for tuna packed in oil, or add marinated quartered artichokes instead of pepperoncini, or substitute toasted pine nuts for the fontina cheese. Make it your salad for your taste!

Chopped Salad Pasta

Makes 4 servings

30 minutes Time

Ingredients:

  • 2 tablespoons finely diced red onion

  • 2 tablespoons red wine vinegar

  • 2 tablespoons lemon juice

  • 10 ounces dried ditalini or other small pasta, like macaroni or small conchiglie

  • A splash of extra-virgin olive oil, plus ½ cup

  • Two (15-ounce) cans chickpeas, drained and rinsed

  • 4 ounces salami, cut into matchsticks

  • ⅔ cup coarsely chopped pepperoncini

  • 6 ounces fontina, cut into ¼-inch cubes

  • 2 cups coarsely chopped radicchio or arugula

  • ½ cup finely chopped flat-leaf parsley

  • 1 tablespoon honey

  • 1 teaspoon whole-grain mustard

  • 8 sprigs thyme, stemmed

  • ¾ teaspoon kosher salt

  • Freshly ground black pepper

Directions:

  1. In a small bowl, combine onions, vinegar and lemon juice, and let marinate while you cook pasta.

  2. Bring a large pot of lightly salted water to a boil. Add pasta and cook until al dente, according to package instructions. Drain pasta in a colander, place in a large bowl and add a splash of olive oil to stop it from sticking together.

  3. Add chickpeas, salami, pepperoncini, fontina, radicchio and parsley to pasta, and toss to combine.

  4. Whisk ½ cup olive oil, honey, mustard, thyme and salt into onion-vinegar mixture and season with pepper. Pour over pasta and toss to combine.

  5. Serve pasta on a platter and season with some cranks of pepper.

Recipe Note: This recipe states it makes 4 servings, but I found it made more. I think it helps to chill the recipe ahead a few hours to let all of the beautiful flavors meld, and then bring it up to room temperature before serving.

Related Past Posts:

Roasted Butternut Squash Salad
Perfect Holiday Salad

Bon Appétit et Bon Weekend…Bonnie

Display Thine Divine Tomatoes
Cherry Tomatoes in Ironstone Bowl, French Country Living

Harvested Cherry Tomatoes In Ironstone Bowl

Garden Tomatoes in Baguette Basket, French Country Living

Garden Tomatoes in a Baguette Basket

Garden Tomatoes in Fruit Bowl, French Country Living

Garden Tomatoes in a Pedestal Fruit Bowl

Garden Tomatoes in Colander

Grow Lots of Tomato Varieties

Tomatoes in August are a real treat. Chances are you began your tomato plants from seed back in February, you planted tomato seedlings months ago, you had tomato volunteer plants appear in the spring, or you made a special trip to the farmers market to buy from your favorite tomato farmer recently. In other words, tomatoes can be an investment of time, but are the culinary gems of the summer potager. Earthy and ethereal, they shout and taste of Mother Earth perfection.

Tomatoes come in all different colors and shapes these days. The bold red tomatoes are show stoppers. When they are in season, one should display thine divine tomatoes.

Tomatoes displayed in vintage pieces, baskets, fruit bowls, etc. make beautiful table settings and summer color display in the kitchen. It is hard to improve on Mother Nature, and a great example of seasonal living. What a great way to showcase your tomatoes before you eat, cook, or preserve them.

A few things to remember when bringing your tomatoes into the kitchen.

Tomatoes should be washed before eating but not immediately after harvesting. Wipe off any dirt or dust, but when you are ready to eat your tomatoes clean and wash them well.

Tomatoes are best stored at room temperature, and not in your refrigerator. Sometimes tomatoes stored in the refrigerator develop a mealy texture and lose their flavor. An exception to refrigerate your tomato is if the skin is broken—cooling it will slow the potential for it to start molding.

Slightly unripe tomatoes will ripen further if placed near a sunny window, stem-side down. This will stop moisture escaping from your tomatoes.

Invest in a tomato knife. It will make your life easier, and a joy to further work with your tomatoes.


A few things tomatoes can teach you about seasonal living, and loving that red color in August.

Wear a bright red lipstick and smile with your summer tan.

Kick up your heels in red sandals or flats paired with white pants or capris.

Bring out your summer tablecloths and napkins with a touch of red.

Brighten your summer dishes with red tomatoes, fresh, sauteed, roasted or grilled. Roasting tomatoes at 400 F. degrees for 30 minutes creates a wonderful caramelization flavor.

Tomatoes like companions. Grow lots of basil for all of your tomato dishes.

Simplicity. Perhaps the best way to eat a sun-ripened tomato fresh from your garden is with a generous sprinkling of your favorite finishing salt to unlock the flavor.

Bon Appétit et Bon Weekend…Bonnie


Easy Breezy Macaroons
Golden Macaroons Dipped in Chocolate, French Country Living

Golden Macaroons Dipped in Chocolate Setting

This is another great recipe I have gotten from my Mom. She saw it originally in the April 2001, Better Homes and Gardens magazine. It is not a French Macaron recipe. It is a Golden Macaroon recipe with an option to dip in semisweet chocolate after baking. Not quite a cookie, and not quite a candy, it is a delight for coconut lovers!

The secret to this recipe is using two kinds of coconut — a regular flaked, sweetened coconut and an unsweetened, finely shredded coconut, held together with a touch of honey that creates a golden color when baked. This recipe yields 3 to 4 dozen macaroon, depending on your drop batter size.


Golden Macaroons

Lovingly Adapted from Better Homes and Gardens

Prep/Chill: 35 minutes Bake: 17 minutes

Ingredients:

2-1/2 cups flaked sweetened coconut (about 7 ounces)

2 cups unsweetened finely shredded coconut

1 cup sugar

3 Tablespoons all-purpose flour

1/4 teaspoon salt

4 egg whites

1 Tablespoon honey

1 teaspoon vanilla


Directions:

1) In a large bowl combine flaked and shredded coconut until evenly mixed. Flaked coconut should be broken into separate flakes and with very small clumps present.

2) In a medium mixing bowl combine sugar, flour, and salt. Add the egg whites, honey, and vanilla. Whisk rapidly until smooth. Pour sugar and egg white mixture over coconut mixture. Stir first with a wooden spoon, then use your hands and continue to blend until evenly mixed. Cover with plastic wrap; chill for 30 minutes.

3) Preheat oven to 300 degrees F. Line a large cookie sheet with baking parchment paper. Drop rounded tablespoons of macaroon batter onto the cookie sheet about 2” apart. (I actually use a small ice cream scoop for consistency.) You will probably need a second baking sheet, or fill your original a second time after baking your first macaroons.

4) Gently pinch mounds of macaroon together before baking. Bake for 17 to 19 minutes, or until golden brown. Remove from oven. Let cool on a cooling rack.

5) If you are interested in using dipping chocolate for your macaroons: 1) in a small saucepan, heat 3/4 cup heavy cream to near boiling; remove from heat. Add 6 ounces of your favorite chopped semisweet chocolate (do not use chocolate chips). Let stand for 5 minutes, then whisk until smooth. Cool completely, or to your desired consistency for dipping. Dip one side of your cooled macaroon into your chocolate mixture, and return it back to the parchment paper to further cool and set. Enjoy!

Chocolate Dipped Macaroons, French Country Living

Chocolate Dipped Macaroons Ready to Serve

Bon Appétit et Bon Weekend…Bonnie