Posts in Recipes
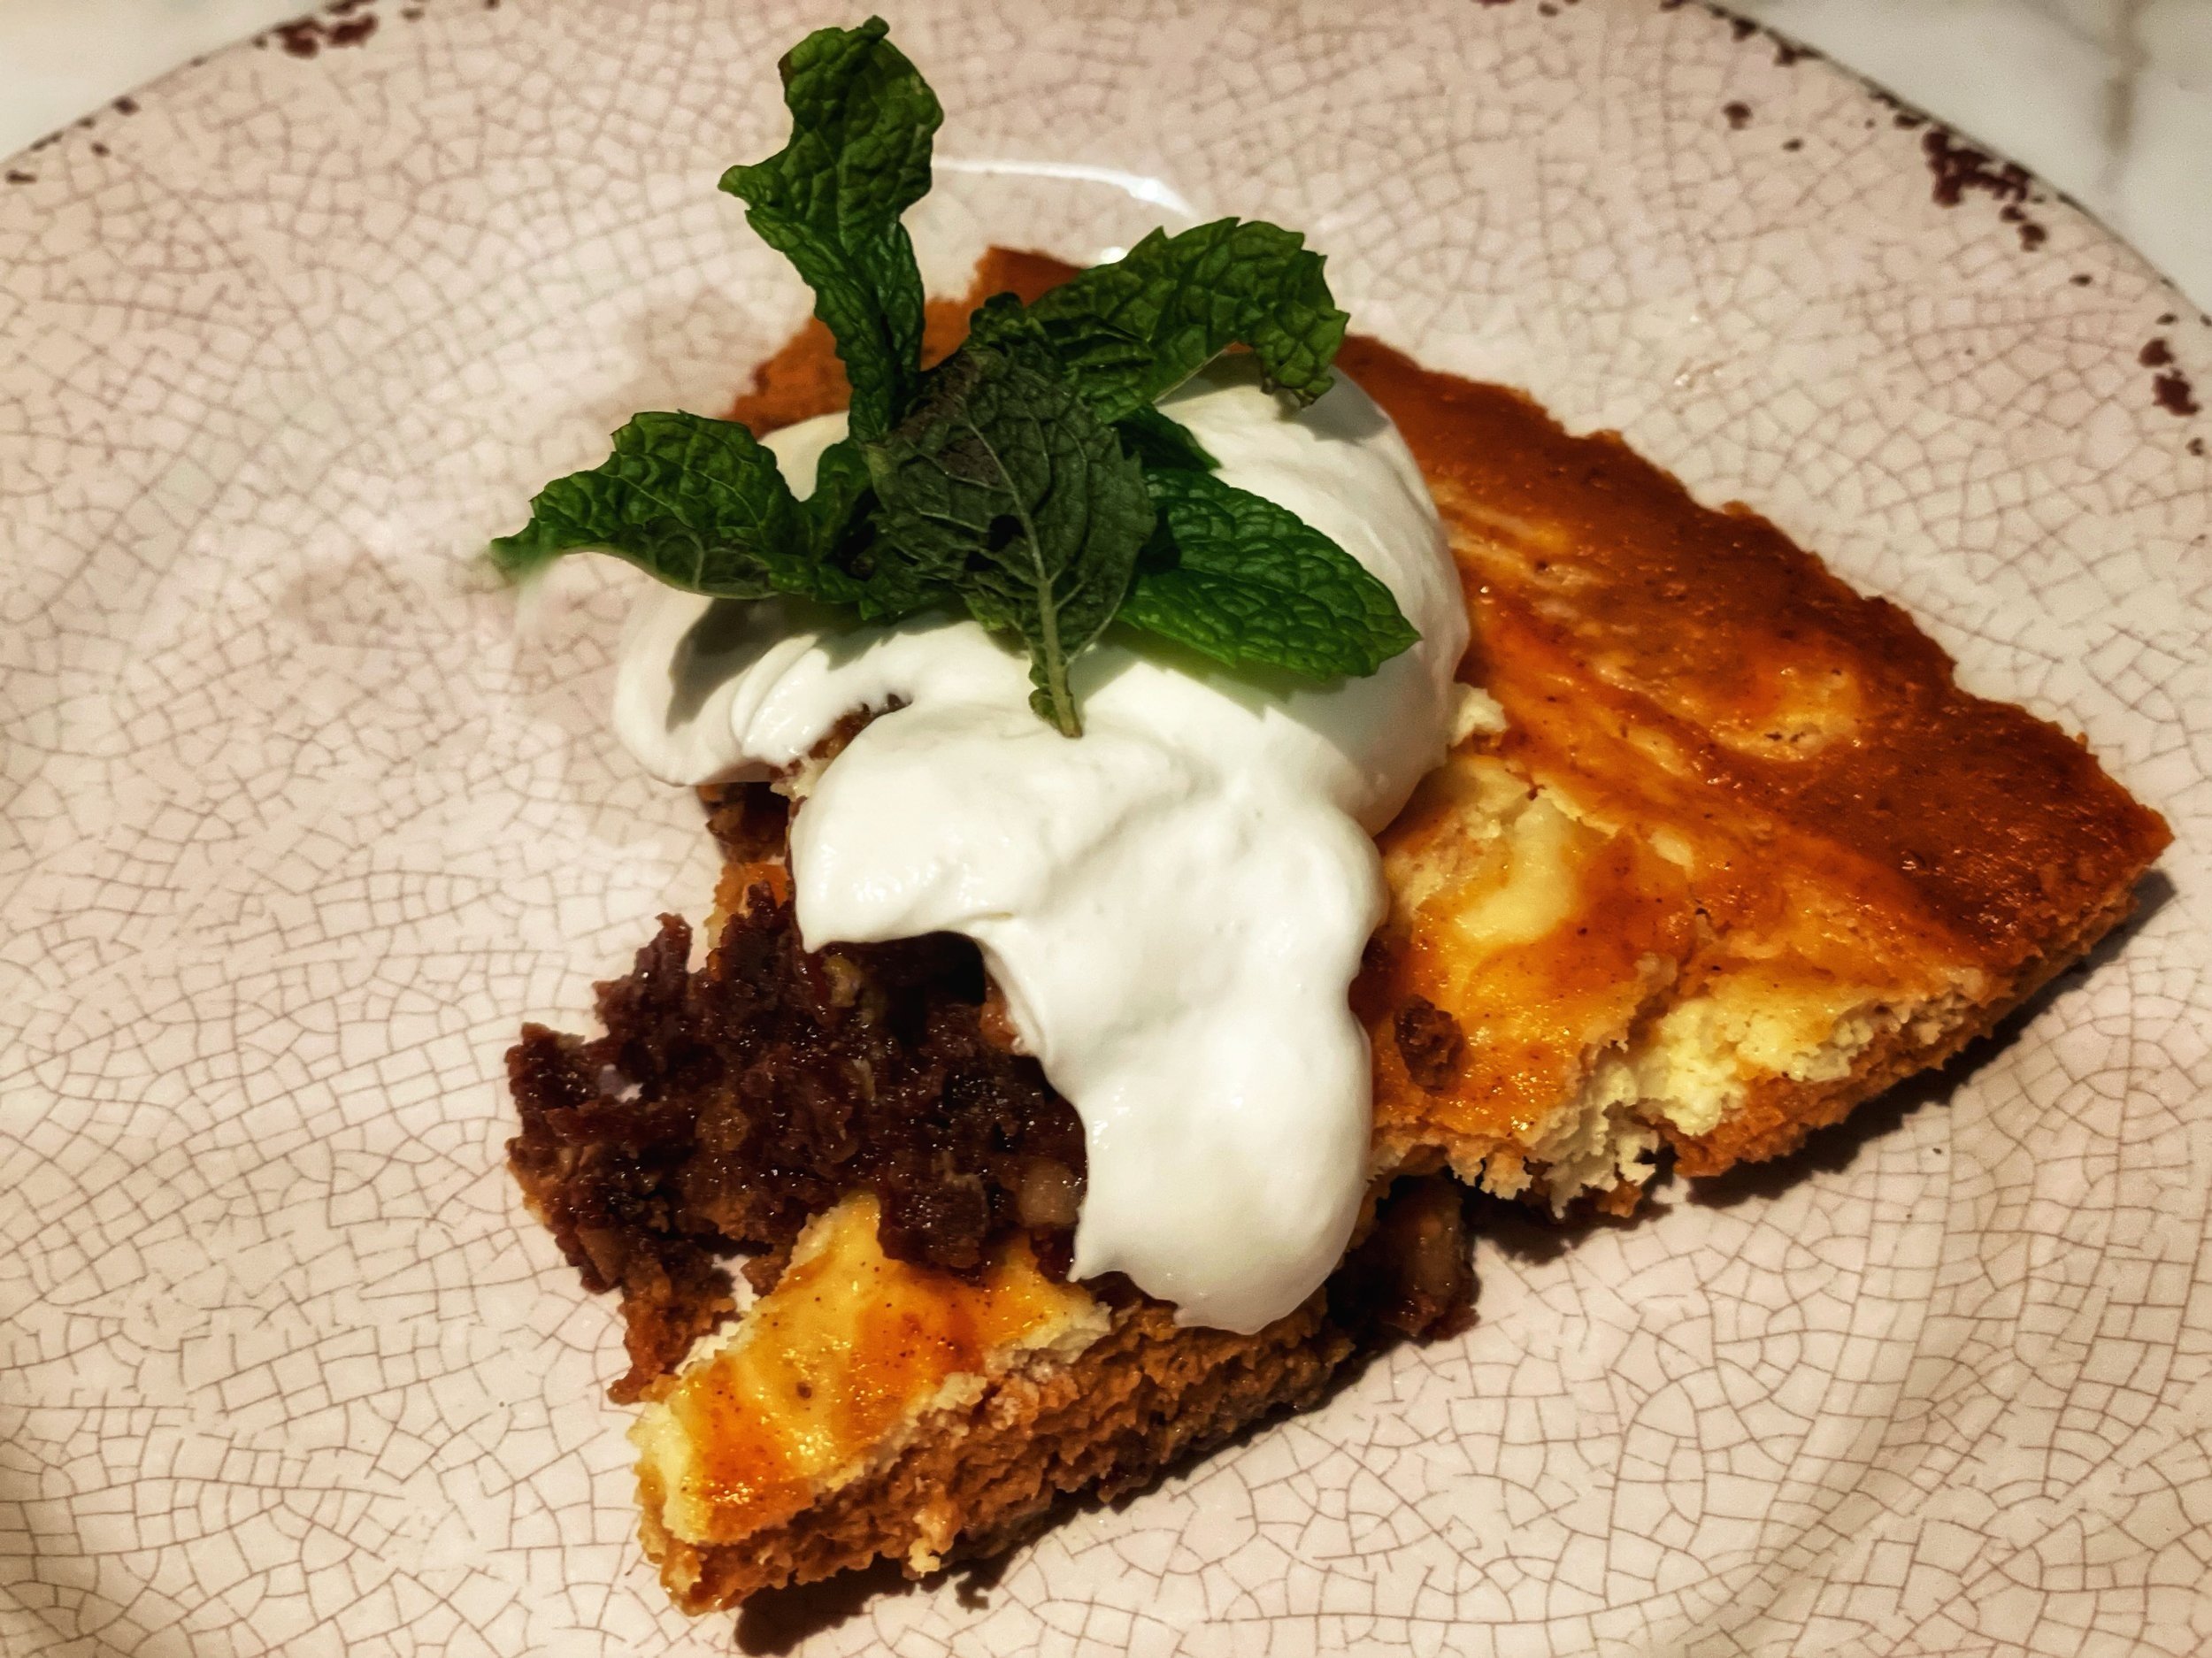
Swirled Pumpkin and Cream Cheese Tart

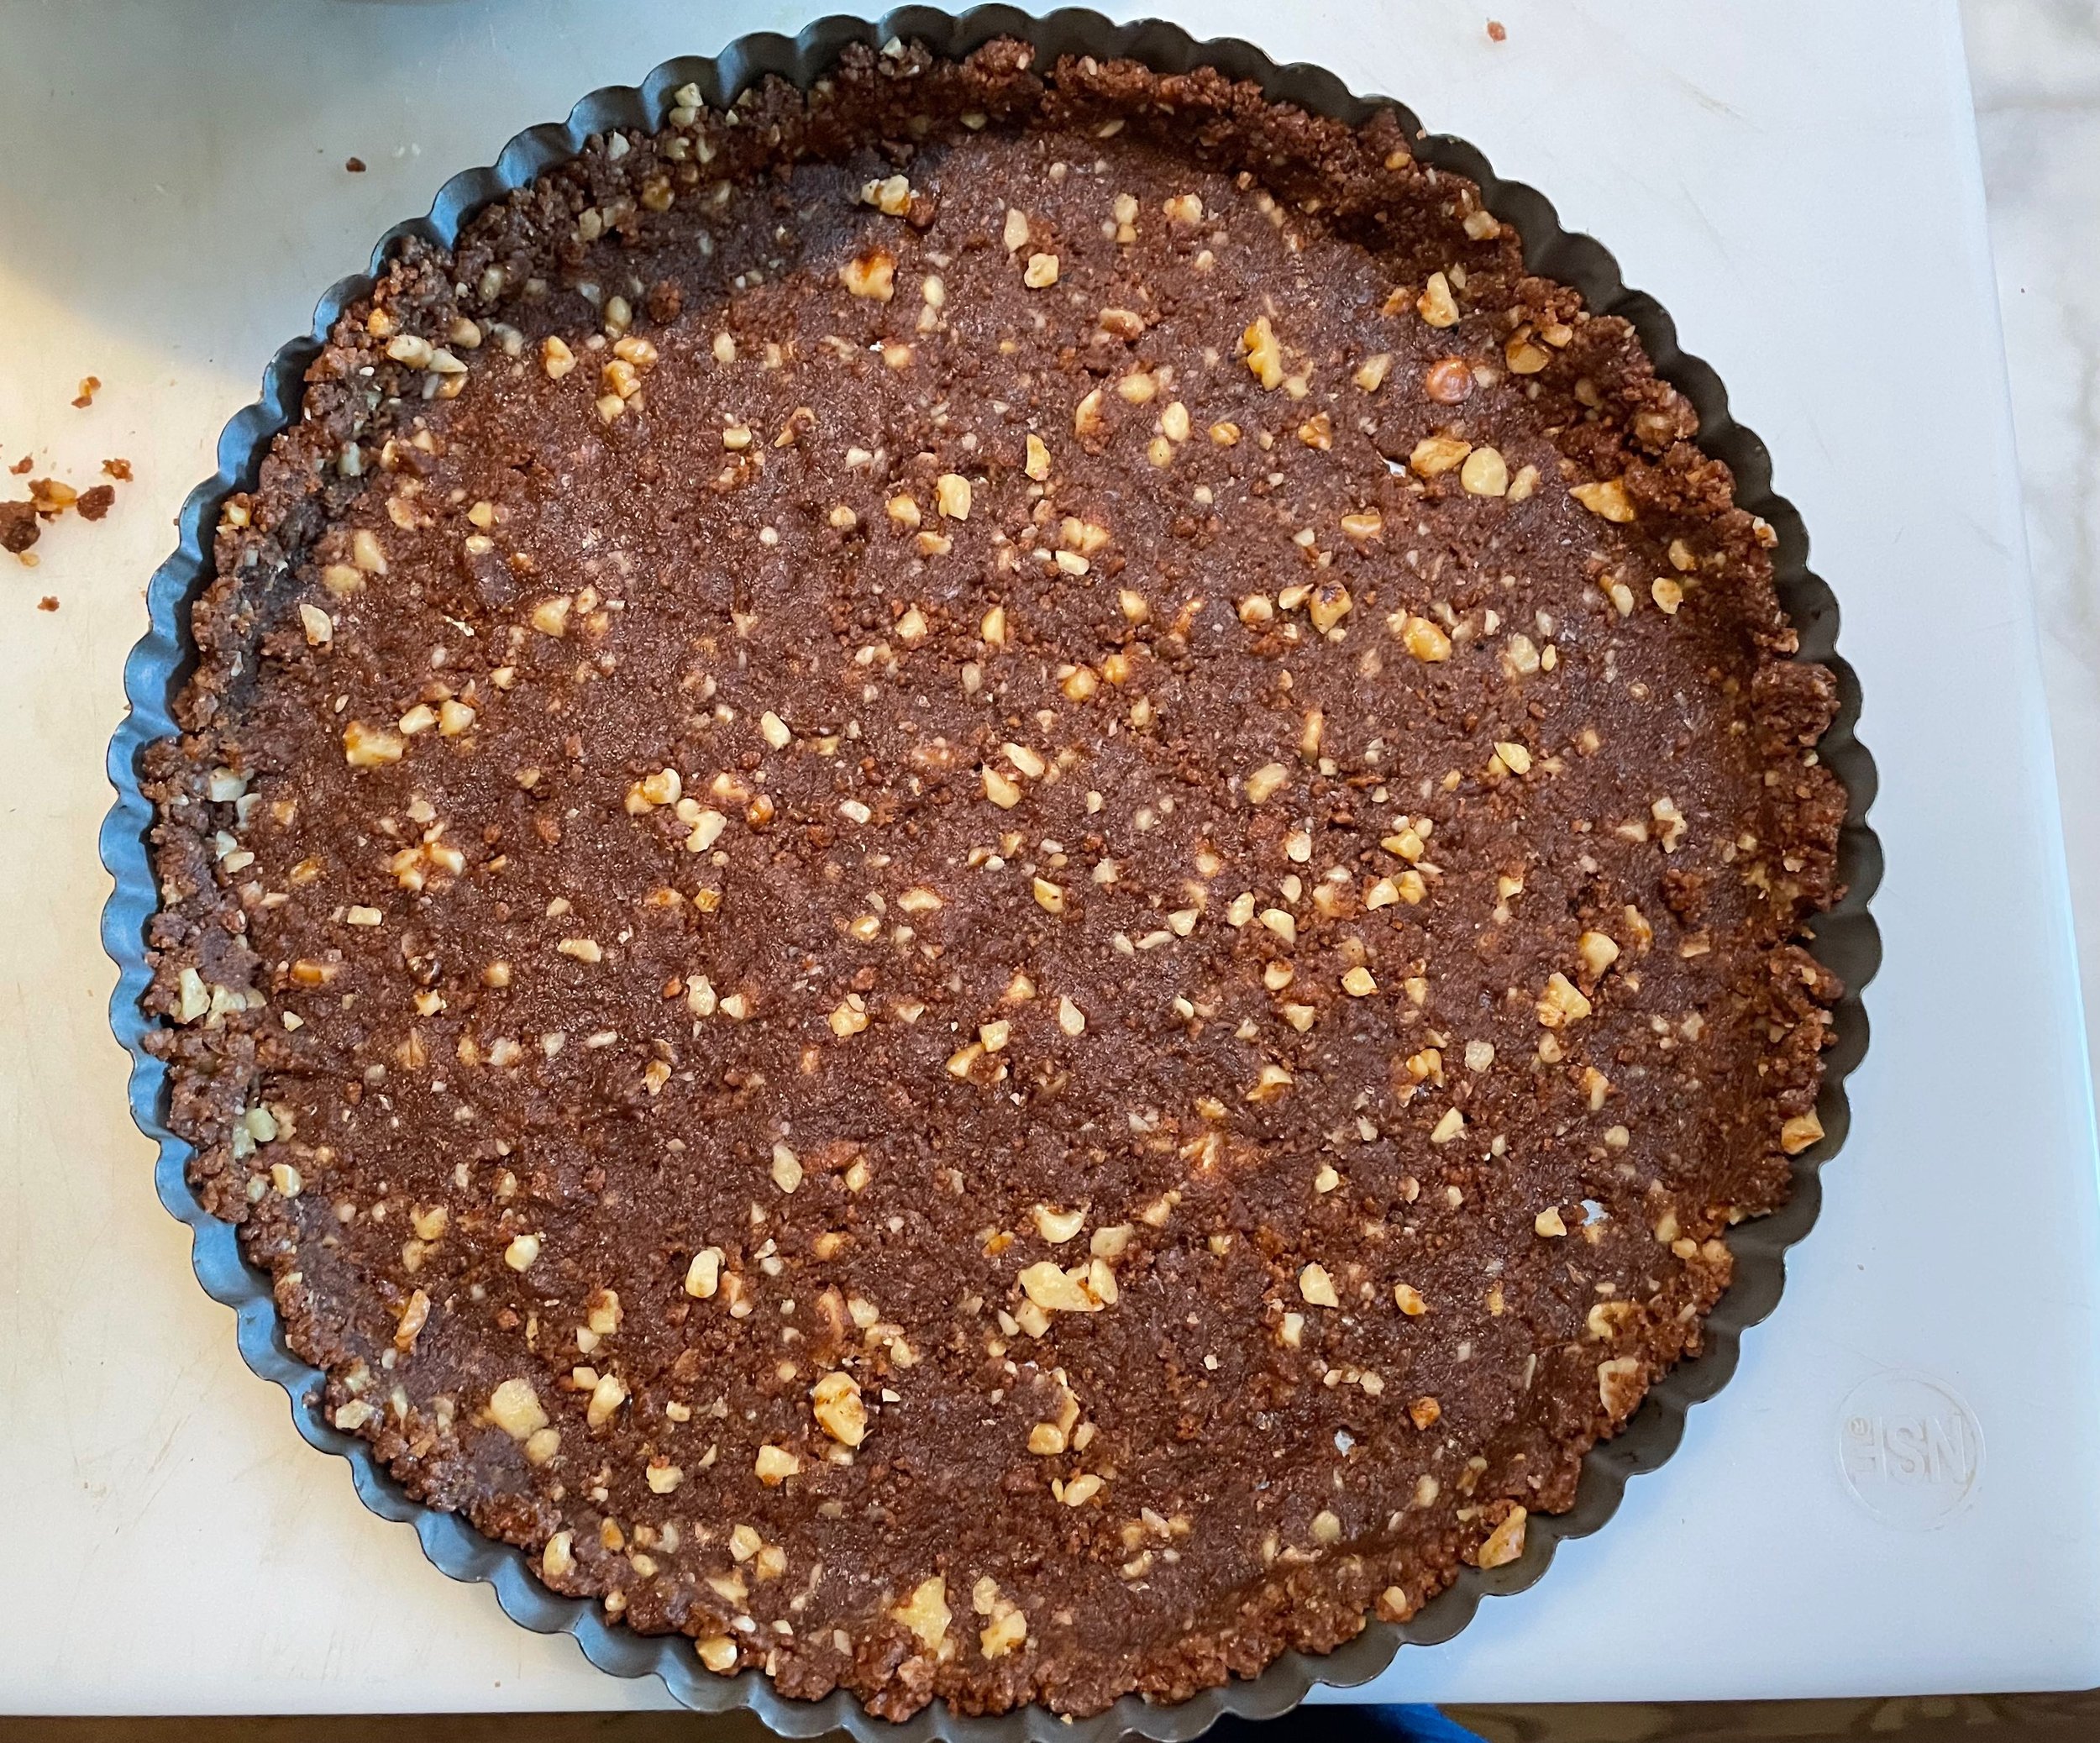
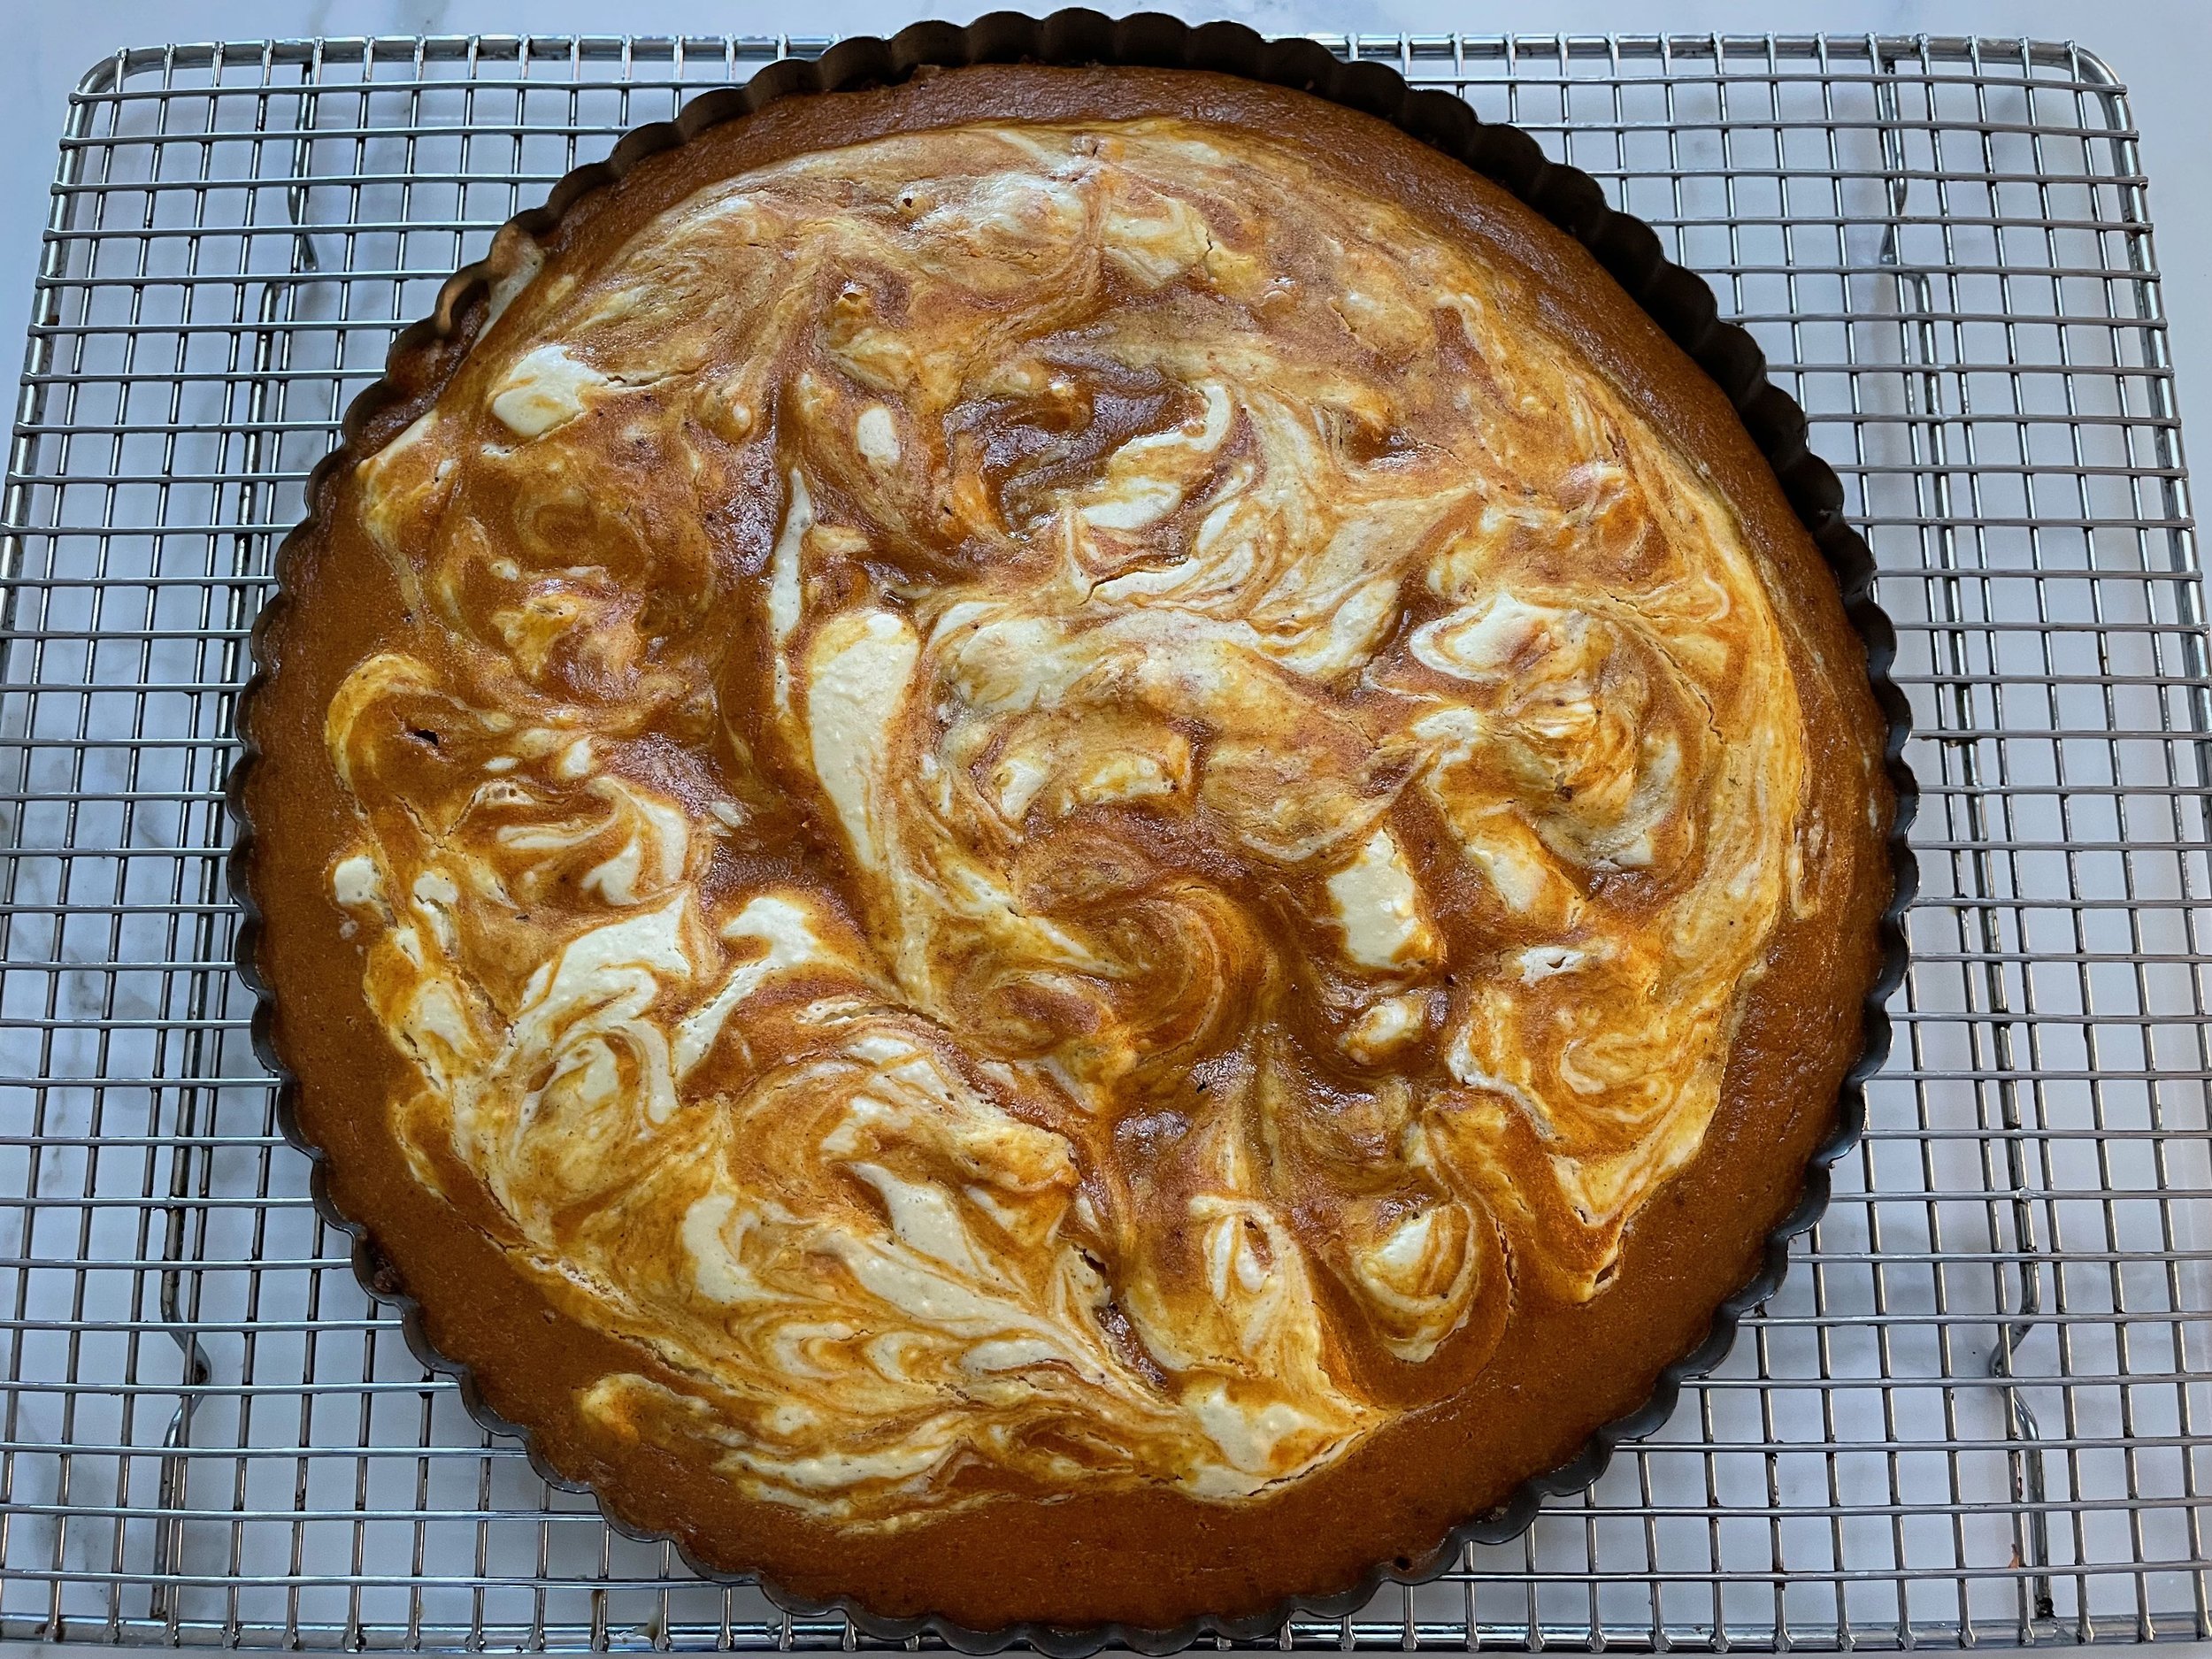
Like A Piece Of Art, This Tart Is Ready For Oven

My eye caught this recipe because I love tarts, I love pumpkin, and I love recipes that have a “wow” factor. This recipe from Victoria magazine 2018 has all three. To plan ahead, this recipe calls for cooling in the refrigerator the finished tart for 4 hours before serving.

Swirled Pumpkin and Cream Cheese Tart

Lovingly Adapted from Victoria 2018 Magazine

Makes 1 (10-inch) Tart

For Crust:

1-3/4 cups crushed gingersnap cookies

1/2 cup finely chopped walnuts

3 tablespoons firmly packed brown sugar

1/4 teaspoon ground cinnamon

6 tablespoons butter, melted


For Pumpkin Filling:

1 (15-ounce) can pure pumpkin , preferably Libby’s

1/2 cup granulated sugar

2 large eggs

1 egg yolk

2 teaspoons pumpkin pie spice

1 teaspoon vanilla extract

3/4 cup heavy whipping cream


For Cream Cheese Swirl:

4 ounces cream cheese, softened

3 tablespoons granulated sugar

1 egg yolk

1/4 cup heavy whipping cream


Garnish:

Sweetened whipped cream

Fresh mint leaves


Directions:

1) Preheat oven to 350 degrees F.

2) For crust: in a large bowl, stir together crushed cookies, walnuts, brown sugar, and cinnamon. Add melted butter, stirring to combine. Press mixture into bottom and up sides of a 10-inch tart pan with removable bottom. Recipe Note: I crushed cookies in a food processor to get a fine crumb texture. I would also add the walnuts in the food processor to get a finer walnut texture for the crust. Place a baking tray with parchment paper under the crust while baking. Bake for 12 minutes. Set aside to cool.

3) For pumpkin filling: In a separate large bowl, whisk together pumpkin, sugar, eggs, egg yolk, pumpkin pie spice, and vanilla extract. Add cream, whisking until mixture is smooth. Pour into cooled crust.

4) To prepare cream cheese swirl: In a medium bowl, beat cream cheese and sugar with a mixer at medium speed until creamy. Add egg yolk, beating until mixture is smooth. Beat in cream. Drop cream cheese mixture over pumpkin mixture by tablespoonfuls. Gently swirl mixture with a knife.

5) Bake until center is set, 35 to 40 minutes. Recipe Note: The tart filling mixture is full in your tart pan. Place a baking tray with parchment paper below your baking tart while baking. Let cool completely. Cover and refrigerate for at least 4 hours before serving. Garnish serving with sweetened whipped cream and fresh mint, if desired. Enjoy!


Bon Appétit et Bon Weekend…Bonnie

Autumn Morning Glory Muffins

Morning Glory Muffin With Fruit

Evidently the Morning Glory Muffin recipe has been around for a while, but is new to me this fall. I saw this recipe recently from my saved October 2018 Victoria magazine.

Ina Garten has a similar Morning Glory Muffin recipe which she made famous at Barefoot Contessa. There are a few different ingredients such as using all-purpose flour instead of whole wheat flour and adding sweetened shredded coconut. Garten’s recipe was inspired by the muffins made at the Morning Glory Cafe on Nantucket. You can also find this recipe in her cookbook, Cook Like A Pro.

Regardless of which recipe you use, this comforting muffin is full of goodies with grated carrots, Granny Smith apples, crushed pineapple, raisins, pecans, and more. One could describe the Morning Glory Muffin as similar to eating a piece of carrot cake without the icing.


Morning Glory Muffins

Lovingly Adapted from Victoria 2018 Magazine

Ingredients:

1-1/2 cups whole wheat flour

1/2 cup old-fashioned oats

1 cup firmly packed brown sugar

2 teaspoons ground cinnamon

1 teaspoon baking powder

1 teaspoon baking soda

1/2 teaspoon salt

2 cups grated carrots

1 cup cored and grated Granny Smith apple

1 (8-ounce) crushed pineapple, drained

2/3 cup vegetable oil

3 large eggs

1/2 cup chopped pecans

1/2 cup raisins

Directions:

Preheat oven to 375 degrees F. Line 9 jumbo muffin cups with paper or foil liners. Recipe Note: I used the standard muffin tin with tulip papers, which made approximately 16 muffins total. Amazon has a nice assortment of tulip liners for baking.

In a large bowl, stir together flour, oats, brown sugar, cinnamon, baking powder, baking soda, and salt.

In a medium bowl, stir together carrot, apple, pineapple, oil, and eggs. Add to the flour mixture, stirring until combined. Stir in pecans and raisins. Spoon batter into prepared muffin cups.

Bake until a wooden pick inserted in center comes out clean, 25 to 30 minutes. Recipe Note: I baked muffins for about 20 minutes because they were standard muffin size and not jumbo muffins. Let cool in pan for 10 minutes. Remove from pan, and let cool slightly on wire racks. Remove paper or foil liners for serving if desired. Recipe Note: I like the tulip liners, so kept mine on. Enjoy!


Bon Appétit et Bon Weekend….Bonnie

Zesty Pumpkin Soup

Zesty Pumpkin Soup Using Libby’s Pure Pumpkin

Last year I helped put on a fall potpourri workshop for one of my garden clubs. Besides the workshop, my dear friend and I also created a lunch for everyone to enjoy afterwards and called it “Pumpkin Potpourri Picnic.” The menu was pumpkin-themed from the appetizer to dessert, and needless to say, it was a big hit!

Featured on our menu was Zesty Pumpkin Soup, originally a recipe from Libby’s Pure Pumpkin can many, many years ago. This subtle pumpkin soup is so tasty with the right mix of flavors, and ease in making. I love this recipe because it lets the wonderful flavor of the pumpkin shine through.

Two “must use” secret ingredients in this recipe, are the Libby’s Pure Pumpkin and Spice Islands Curry, both found on amazon and at most grocery stores.

Last fall I shared with you another recipe from this menu, Pumpkin Maple Cornbread, which is a perfect complement for this delicious soup. Enjoy!


Zesty Pumpkin Soup

Lovingly Adapted From Libby’s Pure Pumpkin Can

Ingredients:

¼ cup butter

1 cup chopped onion

1 clove garlic, crushed

1 tsp. curry powder (Spice Islands Curry—the best)

½ tsp. salt

1/8 to ¼ tsp. ground coriander

1/8 tsp crushed red pepper

3 cups chicken broth

1-3/4 cup (16oz) Libby’s Pure Pumpkin

½ cup half and half cream

Sour Cream & Chives (optional)


 Directions:

In large saucepan, melt butter, sauté onion and garlic until soft. Add curry powder, salt, coriander, and red pepper. Cook 1 minute. Add broth. Boil gently uncovered 15-20 minutes.

Stir in pumpkin and half and half. Cook 5 minutes. Pour into blender and blend until creamy.

Serve warm. Garnish with dollop of sour cream and snipped chives.


 Related Past Post:

Pumpkin Maple Cornbread

Bon Appétit et Bon Weekend…Bonnie
Chopped Salad Pasta
Chopped Salad Pasta

Adapted from Simple Pasta by Odette Williams

Chopped Salad Pasta is a wonderful recipe that is so versatile. It is virtually an antipasto pasta salad with complementary flavors of salami, chickpeas, fontina cheese, pepperoncini with a nice foundational vinaigrette dressing. I first saw this recipe in the Wall Street Journal, which was lovingly adapted from Simple Pasta by Odette Williams. The beauty of this recipe is you can easily substitute various ingredients to suit your taste and what might be in your pantry. For instance, you can swap out salami for tuna packed in oil, or add marinated quartered artichokes instead of pepperoncini, or substitute toasted pine nuts for the fontina cheese. Make it your salad for your taste!

Chopped Salad Pasta

Makes 4 servings

30 minutes Time

Ingredients:

  • 2 tablespoons finely diced red onion

  • 2 tablespoons red wine vinegar

  • 2 tablespoons lemon juice

  • 10 ounces dried ditalini or other small pasta, like macaroni or small conchiglie

  • A splash of extra-virgin olive oil, plus ½ cup

  • Two (15-ounce) cans chickpeas, drained and rinsed

  • 4 ounces salami, cut into matchsticks

  • ⅔ cup coarsely chopped pepperoncini

  • 6 ounces fontina, cut into ¼-inch cubes

  • 2 cups coarsely chopped radicchio or arugula

  • ½ cup finely chopped flat-leaf parsley

  • 1 tablespoon honey

  • 1 teaspoon whole-grain mustard

  • 8 sprigs thyme, stemmed

  • ¾ teaspoon kosher salt

  • Freshly ground black pepper

Directions:

  1. In a small bowl, combine onions, vinegar and lemon juice, and let marinate while you cook pasta.

  2. Bring a large pot of lightly salted water to a boil. Add pasta and cook until al dente, according to package instructions. Drain pasta in a colander, place in a large bowl and add a splash of olive oil to stop it from sticking together.

  3. Add chickpeas, salami, pepperoncini, fontina, radicchio and parsley to pasta, and toss to combine.

  4. Whisk ½ cup olive oil, honey, mustard, thyme and salt into onion-vinegar mixture and season with pepper. Pour over pasta and toss to combine.

  5. Serve pasta on a platter and season with some cranks of pepper.

Recipe Note: This recipe states it makes 4 servings, but I found it made more. I think it helps to chill the recipe ahead a few hours to let all of the beautiful flavors meld, and then bring it up to room temperature before serving.

Related Past Posts:

Roasted Butternut Squash Salad
Perfect Holiday Salad

Bon Appétit et Bon Weekend…Bonnie

Celebrating Julia Child
Julia Child's Paris Apartment, French Country Living

Julia Child’s Affectionate Top Two Floor Apartment, “Roo de Loo” at 81 Rue de L’Université

This Monday, August 15th, is Julia Child’s birthday. I have had it noted on my planner for some time. She means so much to me, as I am sure she means so much to all of you too. Her life and accomplishments are well documented and cemented in history, as well as her loving marriage to Paul Childs. What a duo!

Visiting Paris back in spring of 2015, I walked to the street, and sought out the apartment building, the two top floors where the Child’s resided in their post World War II days and Julia embarked on her culinary passion and adventures. It was really important for me to see their building in person, and my husband thankfully was very obliging in this walkabout. To my knowledge, there is no plaque mentioning Julia Child near the building for various reasons, the French bureaucracy, and Julia Child was much more revered in the United States, ironically than in France. Truthfully, I think Julia Child would have preferred it that way. One only has to use your imagination to scan your memory for all the book and movie details made on her glorious life. Knowing she was here, is enough for me.

Street In Paris Where Julia Child Lived, French Country Living

Rue de L’Université in 7th Arrondissement in Paris, France

I love so many aspects of Julia Child, and her quotes on food and life always give me a chuckle. By the way, Julia Child who cooked everything, yet it is well known her favorite lunch at home was tuna fish salad on a toasted English muffin.

Wonderful Julia Child Quotes:

“People who love to eat are always the best people.”

“I believe in red meat. I’ve often said red meat and gin.”

“A cookbook is only as good as its poorest recipe.”

“It’s so beautifully arranged on the plate, you know someone’s fingers have been all over it.”

“The only time to eat diet food is while you’re waiting for the steak to cook.”

“I am not interested in dishes that take 3 minutes and have no cholesterol.”

“This is my invariable advice to people: Learn how to cook—try new recipes, learn from your mistakes, be fearless and above all have fun.”

“With enough butter, anything is good.”

“Cooking well doesn’t mean cooking fancy.”

“Life itself is the proper binge.”

“You’ll never know everything about anything, especially something you love.”

“If you are afraid of butter, use cream.”

“A party without a cake is just a meeting.”

“I enjoy cooking with wine, sometimes I even put it in the food…”

“The measure of achievement is not winning awards. It’s doing something that you appreciate, something you believe is worthwhile.”

This Monday, please make a special culinary nod to Julia Child in celebration of her birthday, and touching us all with her passion.

Bon Appétit et Bon Weekend…Bonnie

If you like this weekly lifestyle post, please share it with your friends and family. You can sign up for my posts/newsletters at bonniejomanion.com Merci!

Tomato Coconut Soup
Tomato Coconut Soup Recipe, French Country Living

Ready to Serve Tomato Coconut Soup

In my travels recently, I had this marvelous soup, served with a rustic petite boule. Heaven. Afterwards, I made my way towards the kitchen to ask for the recipe. The kind sous-chef was able to jot down the basics of the soup for me, but I would have to create it for 4 to 6 servings versus quantity for a cafe “soup of the day.”

Tomato Coconut Soup

Makes 4 to 6 Servings

Dice three stalks of celery, one white onion, and three peeled carrots in 2 tablespoons of olive oil, or butter creating a mirepoix (a flavor base made from diced vegetables cooked—usually with butter, oil, or other fat—for a long time on low heat).

Add two teaspoons minced ginger, two teaspoons minced garlic, and one teaspoon dried oregano to your diced vegetables, continuing over low heat, sweating these ingredients (softening them without browning and cooking in their own juices). Add 1/2 teaspoon salt and freshly ground pepper.

Blend a large 29-ounce can of tomatoes in a blender, add to your mirepoix mixture. Add two 13.5-ounce cans of unsweetened coconut milk. Stir well. Bring mixture to a boil, turn down heat, and simmer for 20 minutes to let the ingredients meld. Season further with salt and pepper to taste.

Serve warm with chopped chives or a garnish of your choice.

Recipe Note: This soup has a nice texture with the diced vegetables. If you wanted a smoother soup, you could further puree the soup. If you prefer a little kick to this soup, add a generous pinch of chili flakes or cayenne pepper.


I always enjoy a good soup. This “Tomato Coconut Soup” recipe, was one that I had never had before. I see online that there are many, many tomato coconut soup recipes, each one a little different. Please share if you have a favorite tomato soup recipe. Please share if you make this recipe. Enjoy!

Past Related Posts:

Delicious Roasted Tomato Soup

White Bean, Pasta, and Swiss Chard Soup

Bon Appétit et Bon Weekend…Bonnie

Easy Breezy Macaroons
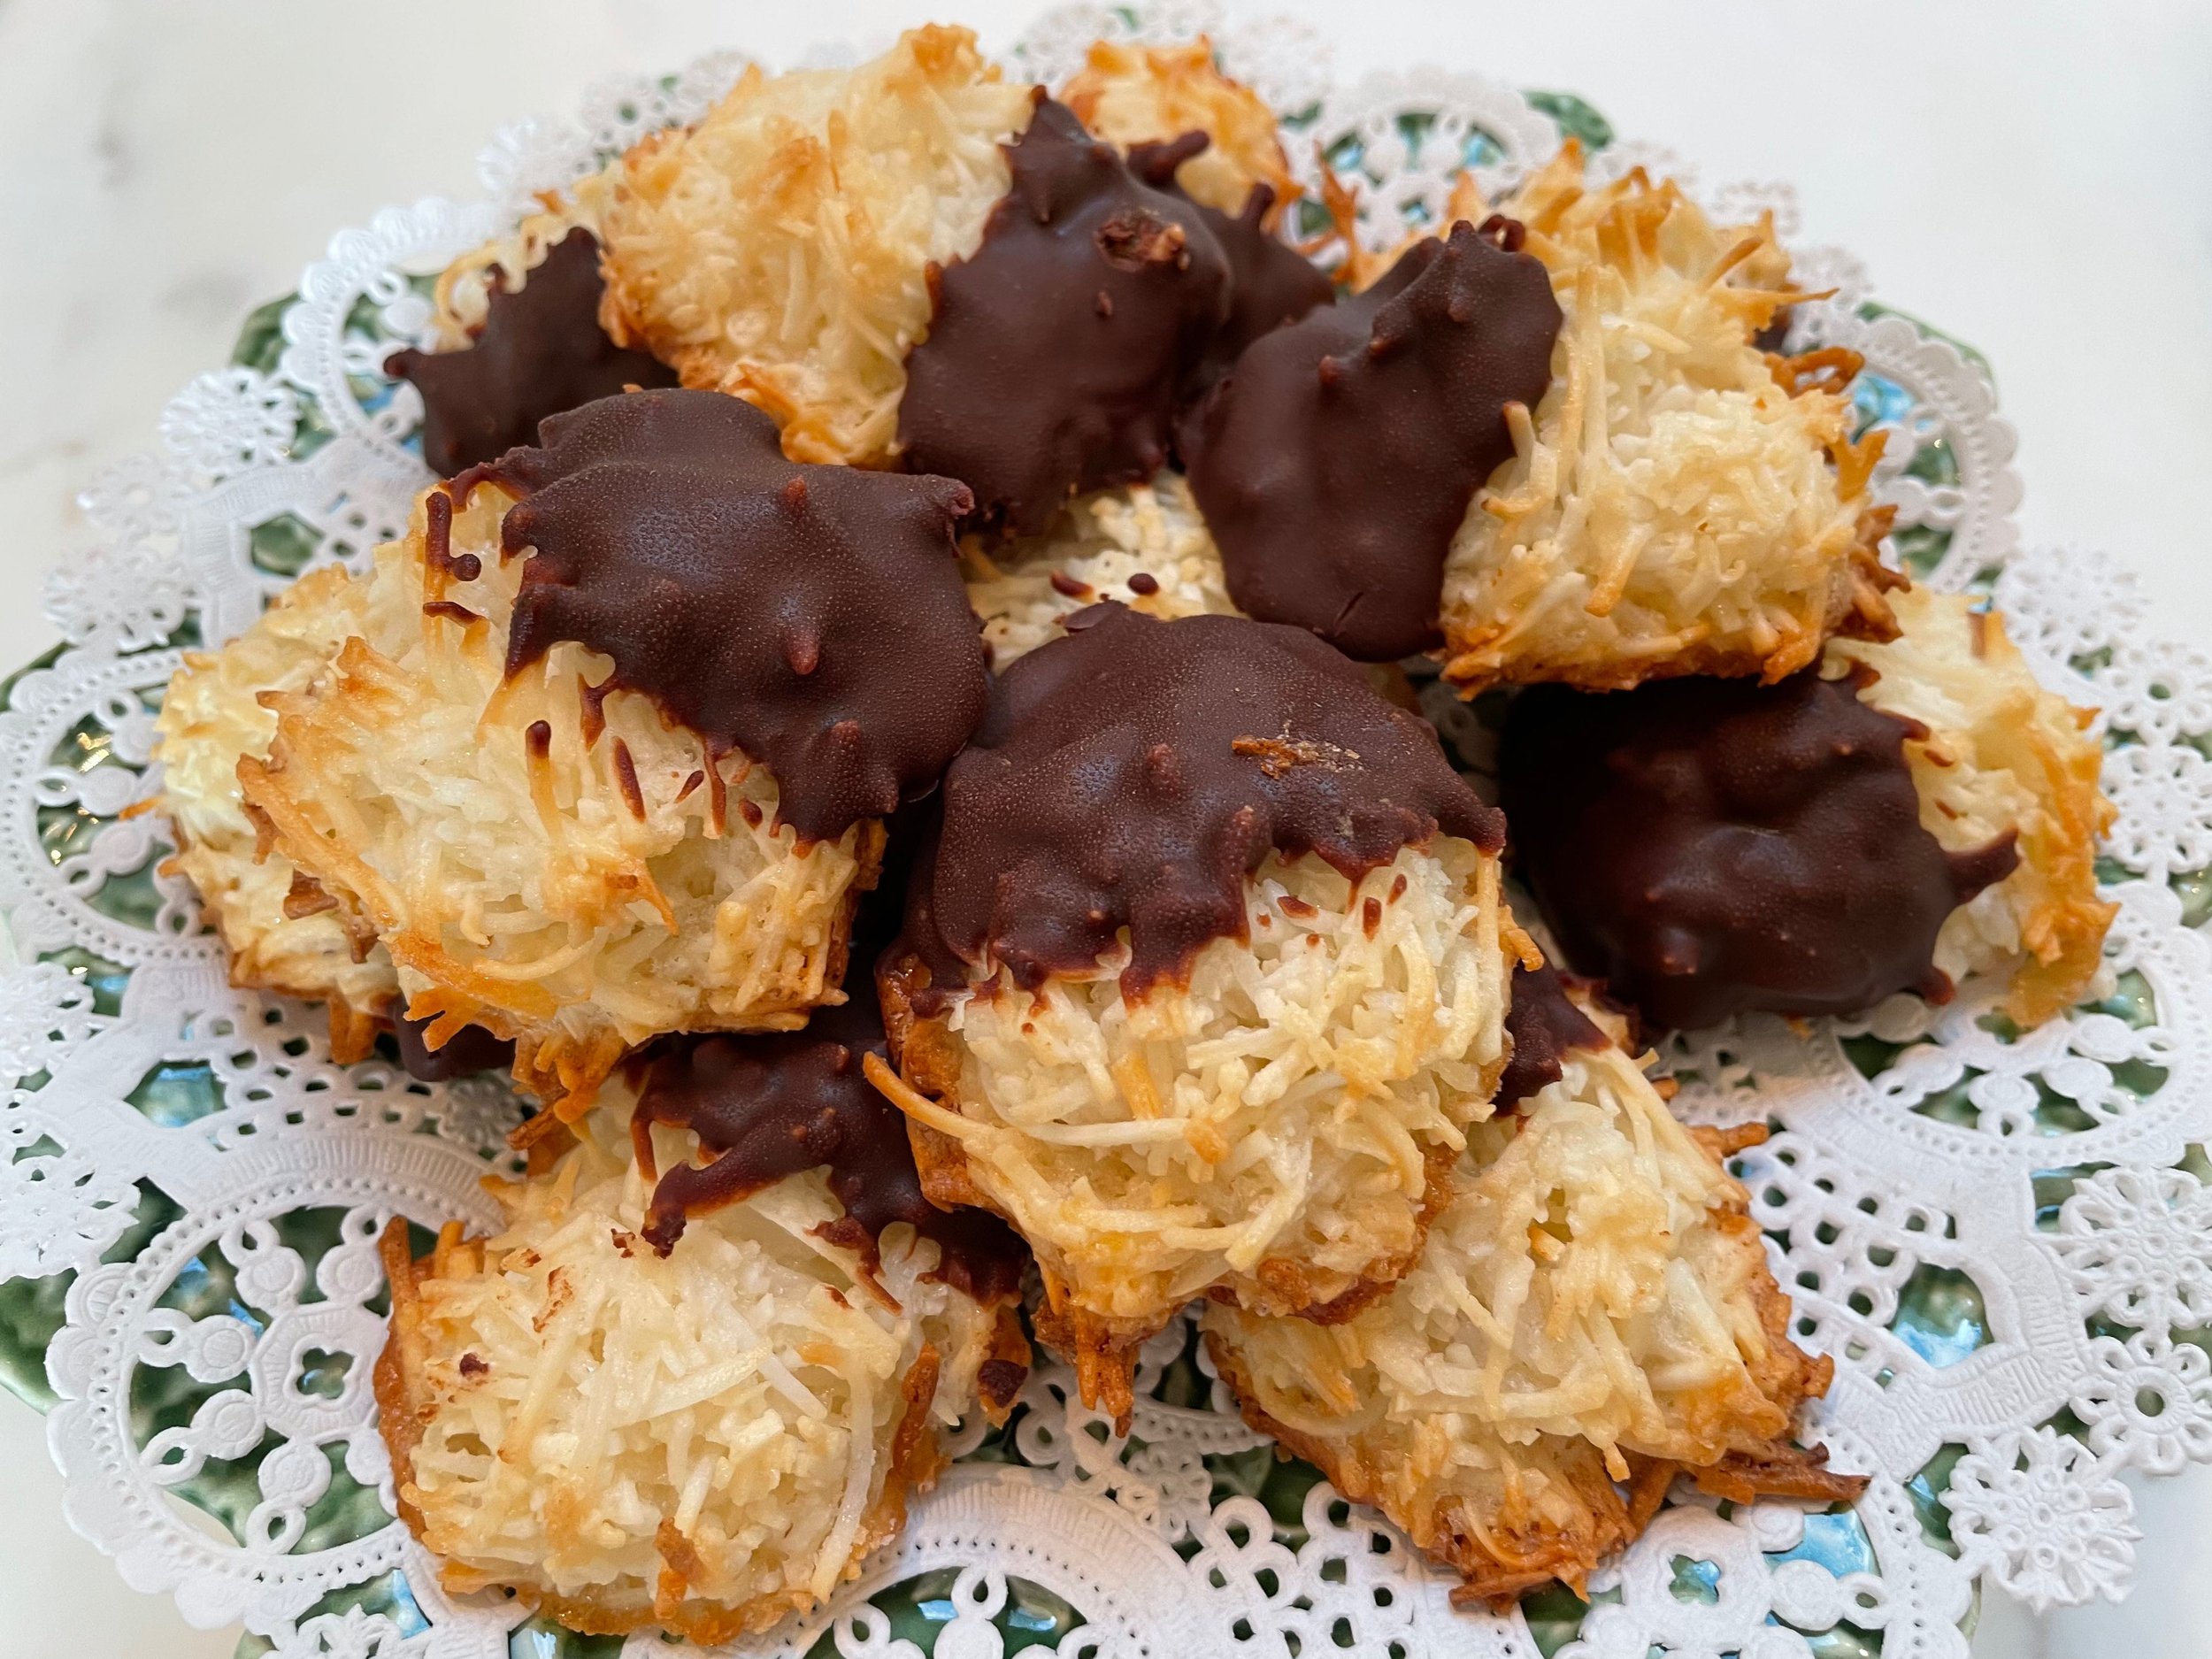
Golden Macaroons Dipped in Chocolate, French Country Living

Golden Macaroons Dipped in Chocolate Setting

This is another great recipe I have gotten from my Mom. She saw it originally in the April 2001, Better Homes and Gardens magazine. It is not a French Macaron recipe. It is a Golden Macaroon recipe with an option to dip in semisweet chocolate after baking. Not quite a cookie, and not quite a candy, it is a delight for coconut lovers!

The secret to this recipe is using two kinds of coconut — a regular flaked, sweetened coconut and an unsweetened, finely shredded coconut, held together with a touch of honey that creates a golden color when baked. This recipe yields 3 to 4 dozen macaroon, depending on your drop batter size.


Golden Macaroons

Lovingly Adapted from Better Homes and Gardens

Prep/Chill: 35 minutes Bake: 17 minutes

Ingredients:

2-1/2 cups flaked sweetened coconut (about 7 ounces)

2 cups unsweetened finely shredded coconut

1 cup sugar

3 Tablespoons all-purpose flour

1/4 teaspoon salt

4 egg whites

1 Tablespoon honey

1 teaspoon vanilla


Directions:

1) In a large bowl combine flaked and shredded coconut until evenly mixed. Flaked coconut should be broken into separate flakes and with very small clumps present.

2) In a medium mixing bowl combine sugar, flour, and salt. Add the egg whites, honey, and vanilla. Whisk rapidly until smooth. Pour sugar and egg white mixture over coconut mixture. Stir first with a wooden spoon, then use your hands and continue to blend until evenly mixed. Cover with plastic wrap; chill for 30 minutes.

3) Preheat oven to 300 degrees F. Line a large cookie sheet with baking parchment paper. Drop rounded tablespoons of macaroon batter onto the cookie sheet about 2” apart. (I actually use a small ice cream scoop for consistency.) You will probably need a second baking sheet, or fill your original a second time after baking your first macaroons.

4) Gently pinch mounds of macaroon together before baking. Bake for 17 to 19 minutes, or until golden brown. Remove from oven. Let cool on a cooling rack.

5) If you are interested in using dipping chocolate for your macaroons: 1) in a small saucepan, heat 3/4 cup heavy cream to near boiling; remove from heat. Add 6 ounces of your favorite chopped semisweet chocolate (do not use chocolate chips). Let stand for 5 minutes, then whisk until smooth. Cool completely, or to your desired consistency for dipping. Dip one side of your cooled macaroon into your chocolate mixture, and return it back to the parchment paper to further cool and set. Enjoy!

Chocolate Dipped Macaroons, French Country Living

Chocolate Dipped Macaroons Ready to Serve

Bon Appétit et Bon Weekend…Bonnie


Hummingbird Cake Cult Following
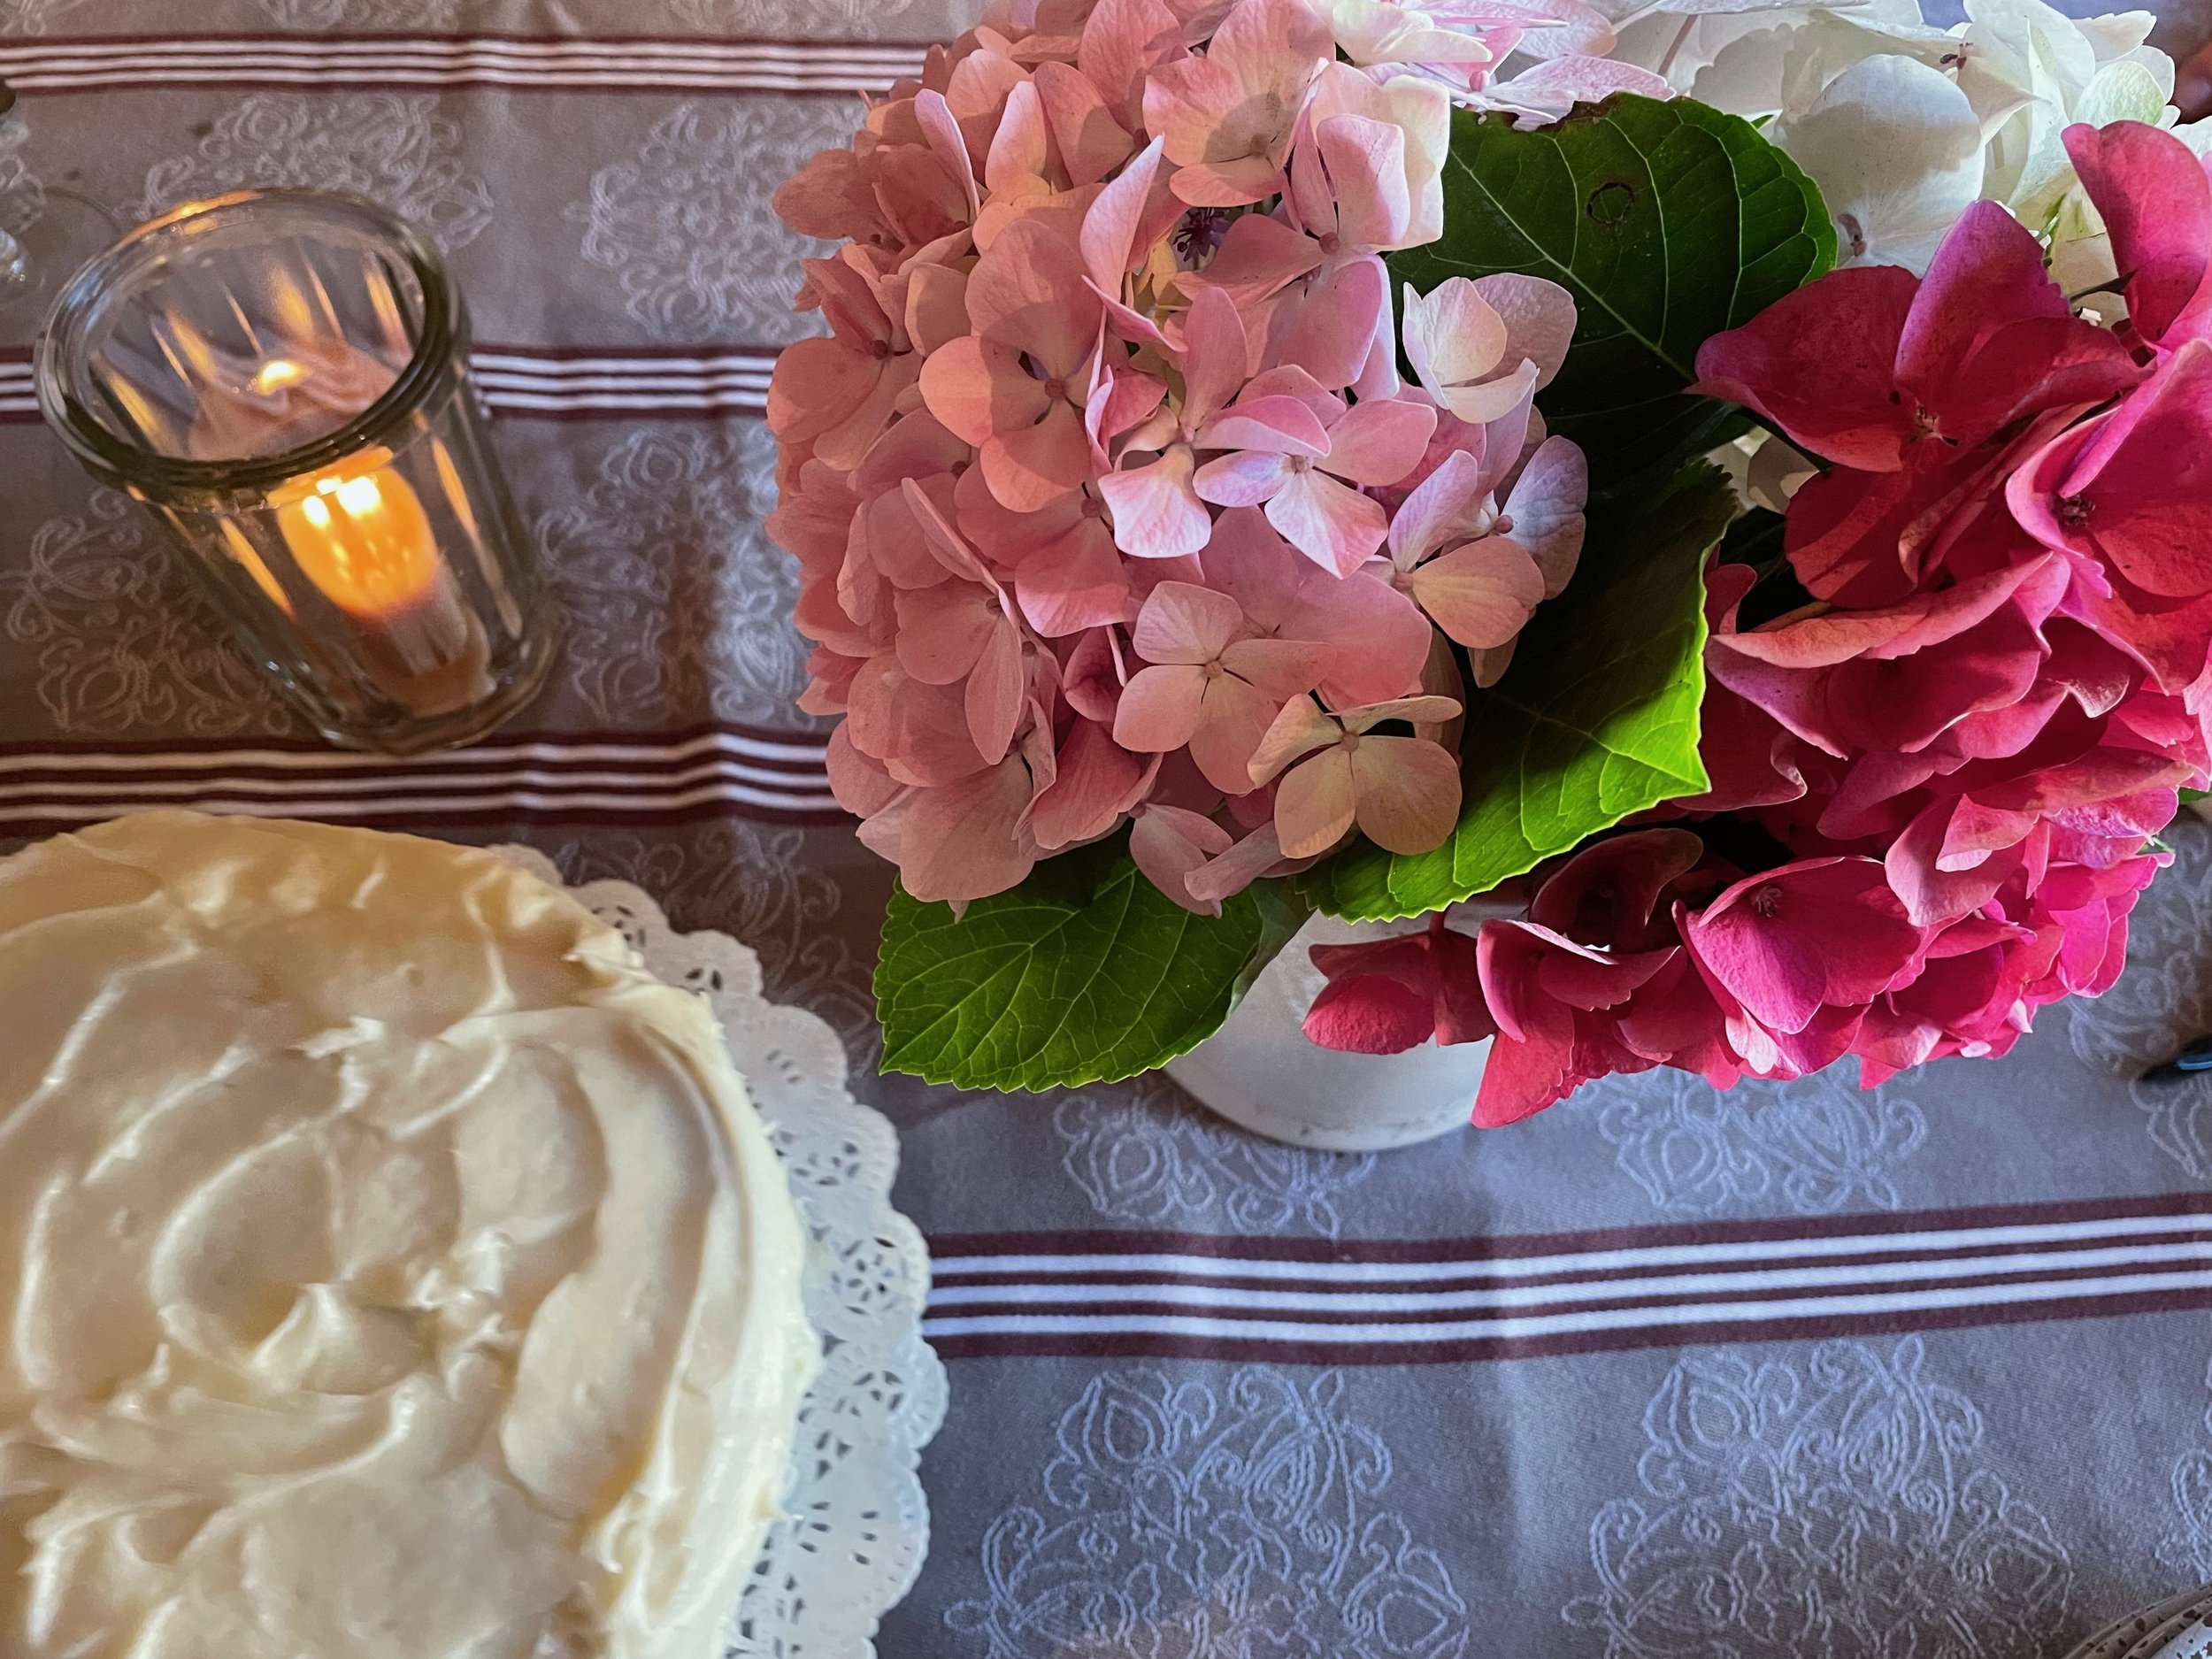
Hummingbird Cake and Hydrangeas, French Country Living

Hummingbird Cake and Hydrangeas, A Dreamy Combo

Birthdays and special occasions are usually celebrated with Hummingbird Cake here at Domaine de Manion. There is something special about the combination of sweet banana, pineapple, and cream cheese in this elegant cake recipe that lives on and on. A Certain Mrs. L. H. Wiggins submitted in 1978, the original Hummingbird Cake recipe to Southern Living, and the rest is history. It has become one of Southern Living’s most popular cake recipes of all time, more than forty years later. It really is a crowd pleaser, and lives up to the occasion it is served at.

I have written about and shared my Hummingbird Cake recipe in a post back in February 2021 (see below). Recently I saw a link from Southern Living on 8 Fresh Ways with Hummingbird Cake That Can’t Get Any Sweeter, and thought to myself, there is a real cult following going on. Think Hummingbird Bundt Cake, Hummingbird Pancakes, the Original Hummingbird Cake Recipe, Lightened Hummingbird Cake, Hummingbird Snack Cake with Brown Butter, and more.

My version of Hummingbird Cake recipe below is not too far off from the original, as best as I can see. It makes a very nice 8” three layer or 9” two layer, where in the original recipe, ingredient amounts are larger to make a 9” three layer cake. The original recipe also calls for not draining your crushed pineapple, and mine does. I suggest you drain your crushed pineapple, as the cake is still very, very moist. I also often forgo the nuts as top and side garnish.


Hummingbird Cake


Ingredients:

1-1/2 cups sugar

1-1/2 cups all-purpose flour

1 tsp. baking soda

¼ tsp. salt

¼ tsp. cinnamon

1-8oz. can crushed pineapple—juice packed, drained

½ cup canola oil

4 eggs slightly beaten

1 tsp. vanilla

1 cup chopped bananas

1 cup chunky-style applesauce

2/3 cup chopped walnuts, toasted


Directions:

Grease and lightly flour two 9” round cake pans. Place a circular parchment paper fitting each pan on top of greased and floured cake pans for ease of removing baked cakes. Set pans aside.


In a large mixing bowl, combine the sugar, flour, baking soda, salt, and cinnamon. Add drained pineapple, oil, eggs, and vanilla. Beat with an electric mixer until combined, scraping the sides of the bowl occasionally. Stir in bananas, applesauce, and walnuts. Divide batter between two prepared pans.


Bake in 350 degree F. oven about 35 minutes, or until the top springs back when lightly touched. Cool cake layers on wire racks for 10 minutes. Remove from pans, cool thoroughly on wire racks. Prepare the Cream Cheese Frosting and frost cake.


Cream Cheese Frosting


In a large mixing bowl, beat one 8oz. package cream cheese (softened), ½ cup butter (softened), and 1 tsp. vanilla with an electric mixer until light and fluffy. Gradually add 5 cups of sifted powdered sugar, beating until smooth and spread consistency.


Ice cake in one direction, trying not to get cake crumbs in the icing. Ice top of first layer of cake, add second cake layer, finish icing cake top and sides.


Press 1-1/2 cups finely chopped pecans, toasted into the sides of the cake. Sprinkle 2 tablespoons of finely chopped pecans on top of the cake. (I usually just cover the top of cake with toasted pecans, and not the sides.) Enjoy!!


Hummingbird Cake Great Down to the Last Piece, French Country Living

Great Down to the Last Piece

Past Related Posts:
Elegant Hummingbird Cake

Love Is A Four Letter Word And So Is Cake

Bon Appétit et Bon Weekend…Bonnie