Posts in Food Styling
Roar For Roger's Red
Roger's Red Grapevine in Autumn

Roger’s Red Through the Autumn Morning Sun

Roger’s Red grapevine is something to roar about. An ornamental grapevine that is thought to be a natural hybrid between the native grape, Vitis californica and the European wine grape, Vitis vinifera.

This grapevine is absolutely stunning with red foliage for your autumn garden. It can produce small grapes, although mine hasn’t yet. I really can’t say enough about the foliage, sometimes chocolate in some light, sometime warm red to burnish orange leaves in other light. And a dash of green color, too.

Close Up of Roger's Red Grapevine

Roger Red Grapevine Climbing Up My Outdoor Patio

It does like to climb on fences, gates, or some kind of support, which is perfect for a garden setting. It will take full sun to light shade with regular to moderate water. Allowing this grapevine to climb will allow it to move and dance with the wind.

I found my Roger’s Red grapevine at Tree of Life Nursery. Sometimes you can find it in nurseries, in their native plant section. You can probably find it online, too.

A very hardy grapevine, it did take me a few years to get it started and growing.

Another View of Roger’s Red Grapevine

I like the idea of decorating your autumn table or buffet with this fabulous grapevine. A trick to doing this is clipping your grapevines in advance, and soaking the ends in a watering can overnight before your intended use. This will help keep your leaves from wilting during your special occasion.

You can even totally immerse individual leaves in water overnight, dry them, and press them flat for a few hours before needing to use them on your table or in your vignette.

Bon Appétit et Bon Weekend…Bonnie

Grilled Summer Squash with Roasted Pistachio Sauce

Grilled Summer Squash with Roasted Pistachio Sauce

Are you up to your ears in summer squash from your garden, and need a recipe lifeline to save you? Well, here comes Grilled Summer Squash with Roasted Pistachio Sauce to the rescue (created by Rob Rubba at Oyster, Oyster restaurant in Washington, D. C., featured in the Food & Wine July 2023 issue). I have made pastas, muffins, cakes, gratins, salads, and more with my garden zucchini over the years, but this recipe is a welcome and delicious twist to reignite your taste buds for summer squash.

This recipe has a lot of flexibility. It calls for grilling the zucchini on the grill, but I have roasted the zucchini in my oven and the recipe is just as delicious. Simply prepare the zucchini according to the recipe. Roast in a 400 F. degree oven for 15-20 minutes until the squash is soft but not mushy. Turn your squash over once during your roasting time.

You also can tweak your pistachio sauce, for instance if you are not a fan of cilantro use basil or parsley. Please note: The pistachio sauce can be made a day ahead and refrigerated in an airtight container. If thick, mix in a small amount of olive oil.


Grilled Summer Squash

With Roasted Pistachio Sauce

Lovingly Adapted from Rob Rubba, Food & Wine Magazine, July 2023

Ingredients

  • 5 medium scallions, root ends trimmed

  • 3 medium tomatillos (about 6 ounces), husks removed, tomatillos rinsed

  • 2 medium serrano chiles, stemmed

  • 8 garlic cloves (unpeeled), plus 1/4 teaspoon grated garlic, divided

  • 1 cup unsalted dry-roasted pistachios, plus chopped pistachios, for garnish

  • 1 cup chopped fresh cilantro leaves and tender stems, plus whole cilantro leaves, for garnish

  • 2 1/4 teaspoons kosher salt, divided

  • 1 1/2 pounds medium-size mixed summer squash (about 3 squash), halved lengthwise and cut crosswise into 3-inch pieces

  • 3 tablespoons olive oil, divided, plus more for drizzling

  • 2 tablespoons fresh lime juice

  • Flaky sea salt, for garnish

Directions

  1. Heat a large cast-iron skillet over medium-high just until smoking. Add scallions, tomatillos, chiles, and unpeeled garlic cloves; cook, flipping occasionally, until mixture is charred in spots and slightly softened, 4 to 6 minutes for scallions, 8 to 10 minutes for chiles and garlic, and 10 to 12 minutes for tomatillos. Transfer to a cutting board, and let cool for 5 minutes. Coarsely chop scallions, tomatillos, and chiles. Remove and discard garlic skins, and add garlic to scallion mixture; set mixture aside.

  2. Pistachio sauce

    Process whole pistachios in a food processor until very finely chopped, about 30 seconds, stopping to scrape down sides of processor bowl after 15 seconds. Add charred scallion mixture, chopped cilantro, and 1 teaspoon kosher salt. Process until mostly smooth and creamy, about 1 minute and 30 seconds, stopping to scrape down bowl after 45 seconds. Transfer mixture to a small bowl, and press plastic wrap directly on the surface of the sauce. Set aside at room temperature until ready to use.

  3. Preheat grill to high (450°F to 500°F). Toss together squash, 1 tablespoon oil, and remaining 11/4 teaspoons kosher salt in a large bowl. Place squash, cut sides down, on oiled grates; grill, uncovered, until deeply charred, 5 to 7 minutes. Flip squash, and grill just until squash is tender, 1 to 2 minutes. Transfer to a small baking dish. Stir together lime juice, grated garlic, and remaining 2 tablespoons oil in a small bowl. Pour mixture over squash, and gently toss to combine; let marinate 15 minutes.

  4. Spread 1 cup pistachio sauce on a large platter. Top with grilled squash, and spoon any remaining marinade in baking dish over squash. Garnish with chopped pistachios and cilantro leaves. Drizzle with additional oil, and garnish with flaky salt. Serve remaining pistachio sauce on the side, or reserve for another use.

Bon Appétit et Bon Weekend…Bonnie

Strawberries On A Stick
Strawberries on a Stick, Barcelona

Strawberries on a Stick at Mercado de La Boqueria, Barcelona, Spain

On a recent trip to Barcelona, Spain, strolling through the famous covered Mercado de La Boqueria, I spotted these “Strawberries on a Stick,” and thought what a clever idea and presentation. A simple variation on chocolate-dipped strawberries. A simple summer dessert when strawberries are in season.

Purchase 12” bamboo skewers. Purchase large sweet whole strawberries, and your chocolates. Melt dark chocolate in a microwave or double boiler, and pour into zip lock bag. Snipe a small corner. Keep the green top on your first strawberry. Add your other strawberries without greens to the skewer. Over parchment paper drizzle the chocolate around each strawberry while rotating the skewer. You might want to enlist a willing helper to hold and rotate the skewer as you drizzle. Place upright to set your chocolate. Repeat with white chocolate.

The Market de la Boqueria is a market, yes, and also a place to grab lunch or a snack for locals and visitors to enjoy. Many of the market vendors have “ready to go” items which are delicious and easy to eat as you stroll around. Next time you are in Barcelona, the Market de la Boqueria in the Las Ramblas neighborhood is a must stop.

Bon Appétit et Bon Weekend…Bonnie

Show Mom The Love

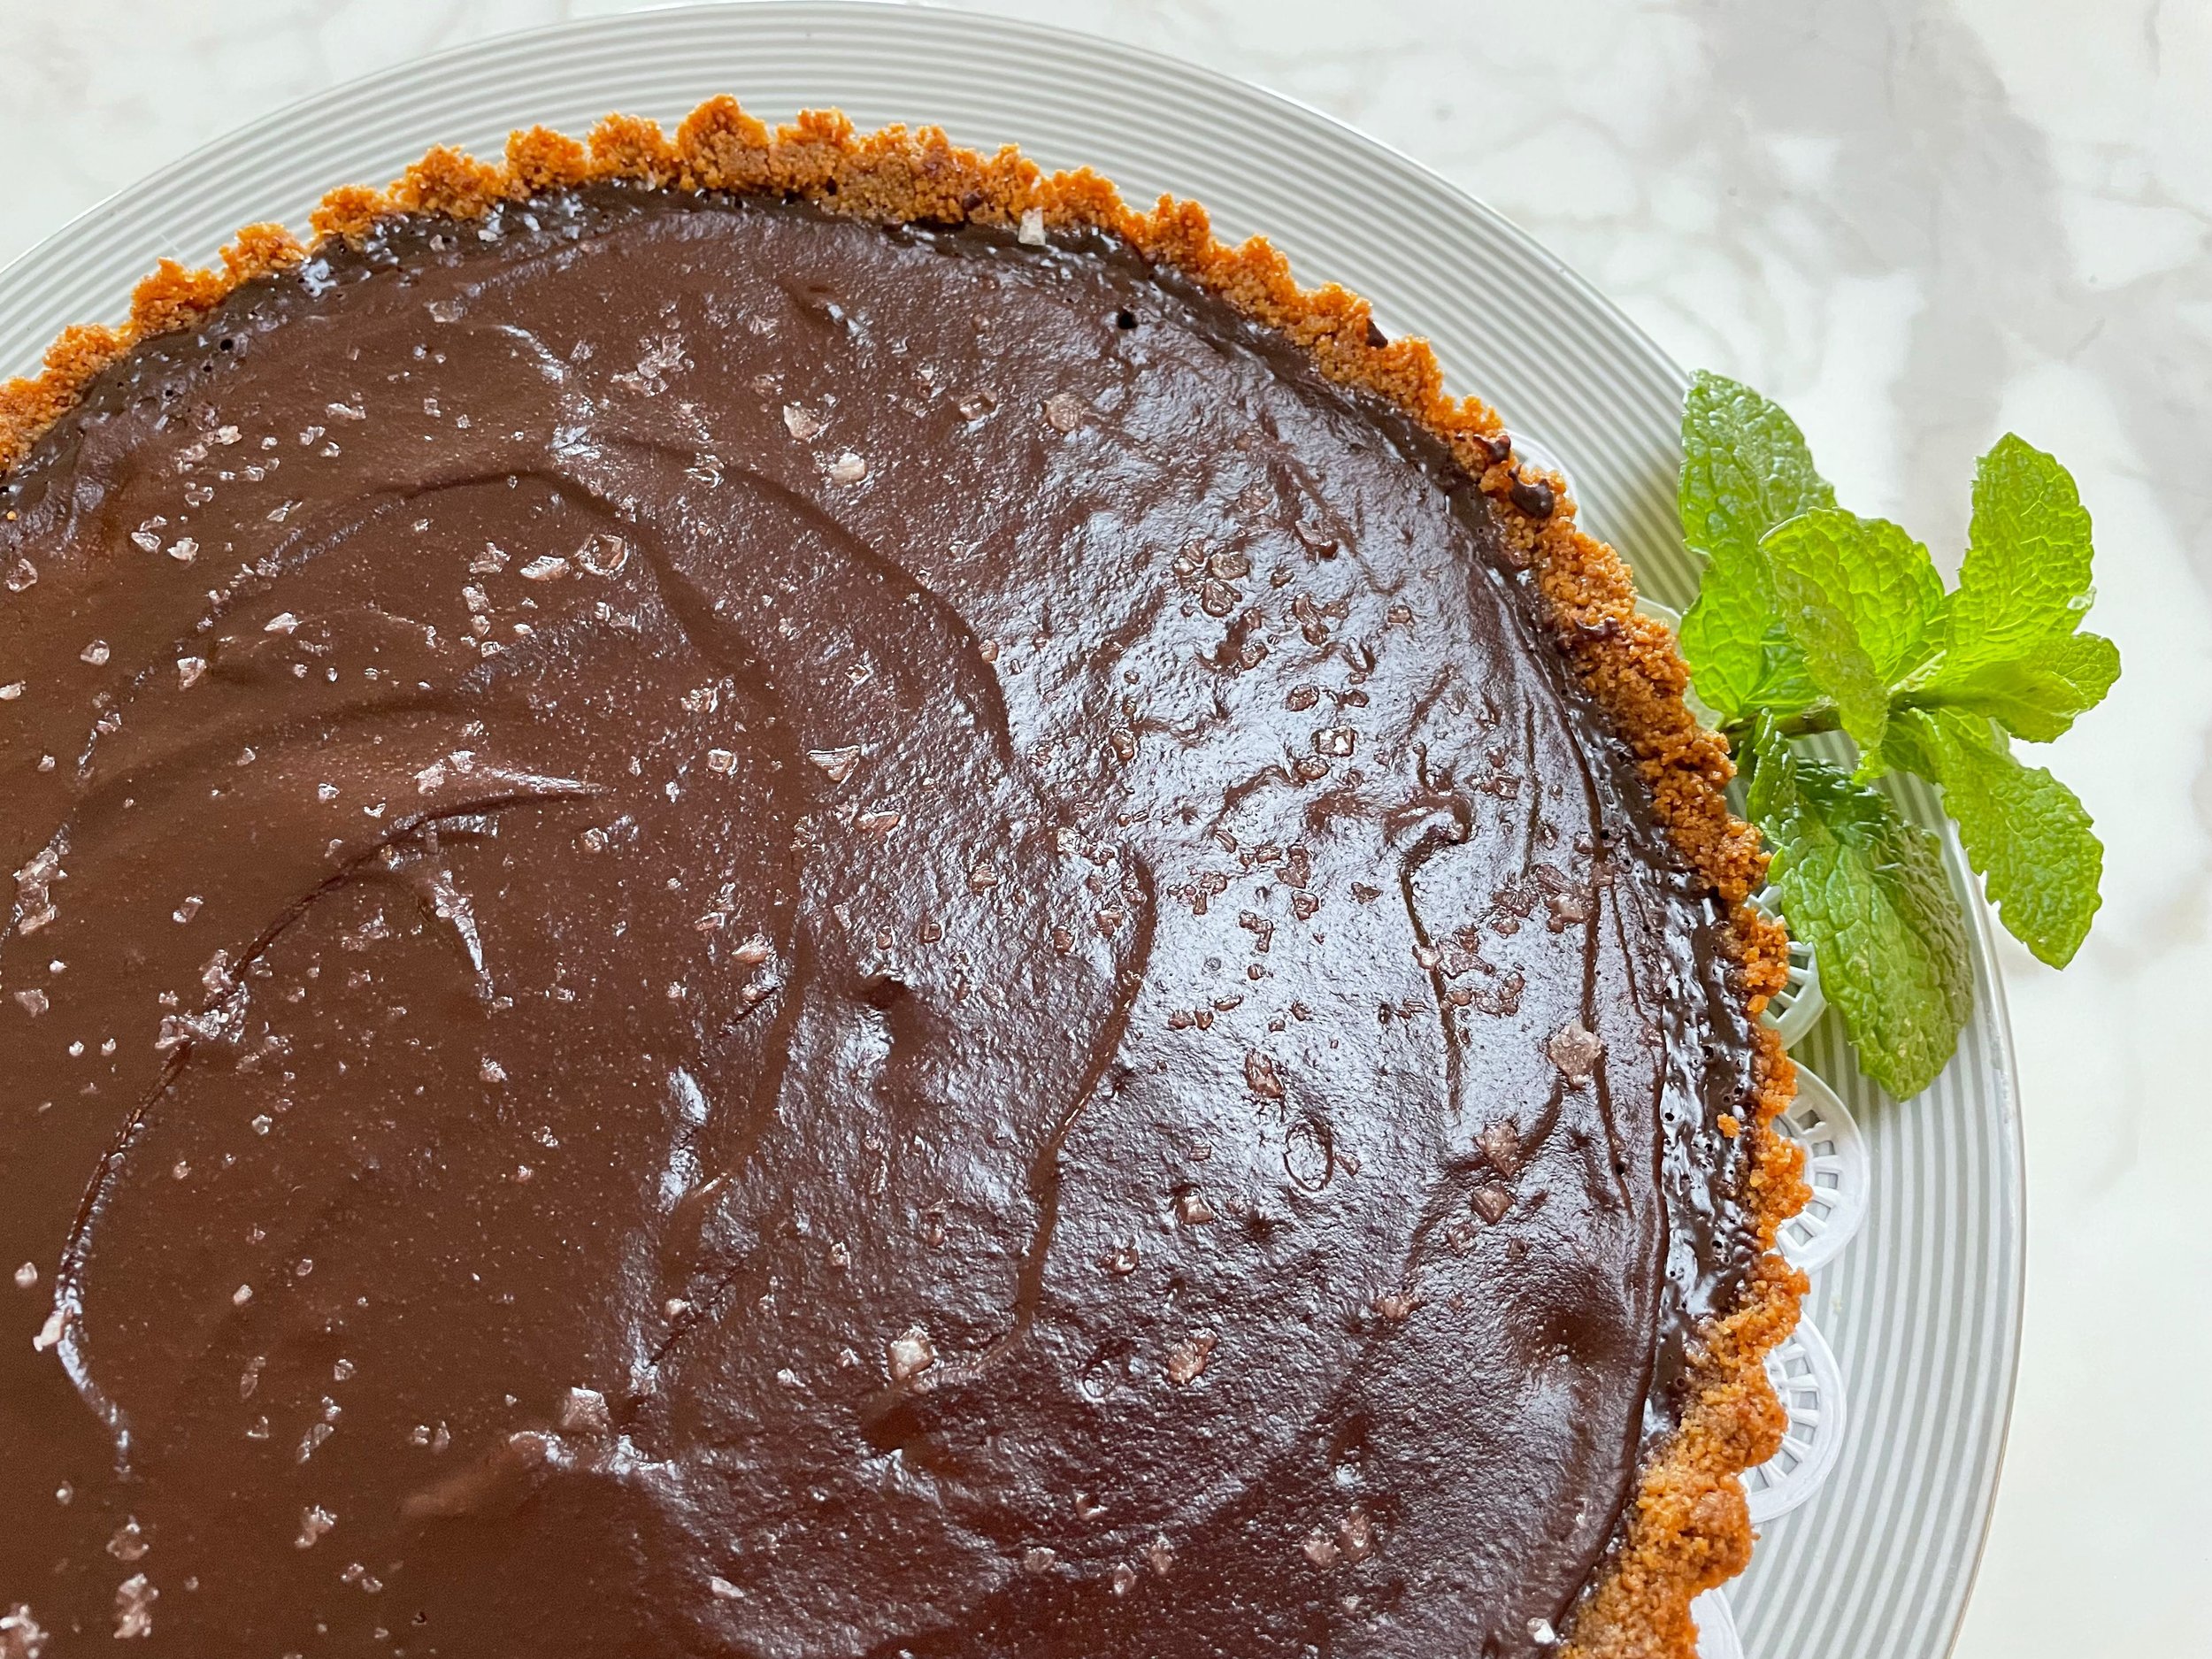
Dark Chocolate Tart

Show Mom the love by baking her this “Dark Chocolate Tart” for Mother’s Day! Easy to make, key is using the best bittersweet chocolate you can find. I use Guittard bittersweet chocolate (74% cacao) in bars.

This is Ina Garten’s recipe in her Go-To Dinners, inspired by Erin French’s The Lost Kitchen cookbook. I have lovingly adapted it a bit more. This recipe is a simple graham cracker crust with a chocolate mousse filling and a chocolate ganache topping glaze, lightly sprinkled with flaky sea salt, such as Maldon. For serving, garnish each serving with a sprig of fresh mint or a few raspberries. A truly luxurious chocolate dessert, perfect for Mom on her special day!

The recipe calls for Nabisco chocolate wafers, which are sometimes hard to find. I found at Trader Joe’s a 16-ounce package of cinnamon graham crackers (in their cookie section) that I substitute 9 ounces in for the crust, and it is a lovely addition. These cinnamon graham crackers grind well in a food processor.


Dark Chocolate Tart

  • For the crust:

  • 1 (9-ounce) box Nabisco chocolate wafers

  • ¼ cup sugar

  • 6 tablespoons unsalted butter, melted

  • For the filling:

  • 1 cup bittersweet chocolate, finely chopped (6½ ounces) (see note)

  • 1¼ cups heavy cream

  • 2 extra-large eggs, lightly beaten

  • 1 teaspoon pure vanilla extract

  • For the glaze:

  • ½ cup bittersweet chocolate, finely chopped (3 ounces)

  • ¼ cup heavy cream

  • ¼ teaspoon coffee granules

  • ½ teaspoon flaked sea salt, such as Maldon

Preheat the oven to 350 degrees.

Place the chocolate wafers and sugar in the bowl of a food processor fitted with the steel blade and process until finely ground. Pour the mixture into a bowl, add the butter, and mix until well incorporated. Press the mixture into the bottom and sides of a 9-inch tart pan with a removable bottom. Place on a sheet pan and bake for 10 minutes. Set aside.

Meanwhile, for the filing, place the 1 cup of chocolate in a medium glass bowl. Heat the cream until it just comes to a boil. Pour the cream over the chocolate, allow it to sit for 1 minute, then stir gently with a whisk until smooth (see note). Stir the eggs and vanilla into the chocolate until smooth and pour into the tart shell. Bake for 18 to 20 minutes, until the chocolate is set on the edges but still jiggly in the middle. Set aside to cool.

For the glaze, put the ½ cup chocolate and the coffee in a glass bowl. Heat the cream to simmering and pour it over the chocolate. Let sit for 1 minute, then whisk until smooth. Gently pour over the chocolate filling (not the crust) and spread to the inside edge of the crust with a knife or offset spatula. Sprinkle with the salt and set aside at room temperature until set. Remove the rim of the tart pan and place the tart on a flat serving plate. Cut in wedges (don’t worry if the crust crumbles) and serve at room temperature.

Notes:

If either chocolate & cream mixture doesn’t melt completely, heat in a microwave for 15 seconds.


Bon Appétit, Bon Weekend, and Happy Mother’s Day…Bonnie


De Niro Pasta
De Niro Pasta

De Niro Pasta

Yes, the name of this recipe is De Niro Pasta, just like brilliant actor, Robert De Niro. It is not his pasta recipe, only the names are similar. This recipe was found online at Cooking Professionally. In fact, I could also name this recipe, Pantry Pasta. It is so easy, so delicious, and most of the ingredients, except the lean ground beef can be in your pantry full time. It has a nice spice and flavor structure highlighted with saffron threads. One could even leave out the lean ground beef, and it still is a wonderfully delicious dish. Key here is, you have got to like olives and capers, or you are not going to enjoy it.

This is a perfect weekday dinner now, when spring is approaching and it is warm during the day, yet cool at night, and comfort food still beckons. Serve it with a nice mixed green vinaigrette salad and a generous slice of rustic bread. Enjoy!


De Niro Pasta

Ingredients

  • 8 ounces thin spaghetti

  • 1 tablespoon olive oil

  • 2 cups onion, chopped

  • 2 teaspoons garlic, minced

  • 1 teaspoon dried oregano

  • 1/2 teaspoon celery salt

  • 1/4 teaspoon crushed red pepper

  • 1/4 teaspoon freshly ground black pepper

  • 1/4 teaspoon saffron threads, optional, crushed

  • 8 ounces extra-lean ground beef

  • 1 2/3 cups low-sodium marinara sauce

  • 2 ounces pimiento-stuffed olives, sliced

  • 1/4 cup dry sherry

  • 1 tablespoon capers

  • 4 tablespoons fresh parsley, chopped


Directions

Step 1 -In a large pot of salted water, cook the pasta to al dente according to the package directions.

Step 2 -In a large skillet over medium-high heat, warm the oil.

Step 3 -Add the onion to the oil and sauté until tender, about 4 minutes.

Step 4 -Add the garlic to the onion and sauté until fragrant, about 1 minute.

Step 5 -Stir the oregano, the celery salt, the red pepper, the black pepper, and the saffron into the onion mixture.

Step 6 -Add the beef to the onion mixture and cook, stirring to crumble, until the meat is no longer pink, about 5-7 minutes.

Step 7 -Stir the marinara sauce, the olives, the sherry, the capers, and 3 tablespoons of the parsley into the meat mixture.

Step 8 -Bring the sauce to a boil, reduce the heat, and simmer for 15 minutes.

Step 9 -Add the cooked pasta to the sauce mixture and cook until heated through, about 2 minutes.

Step 10 -Sprinkle with the remaining parsley and serve.

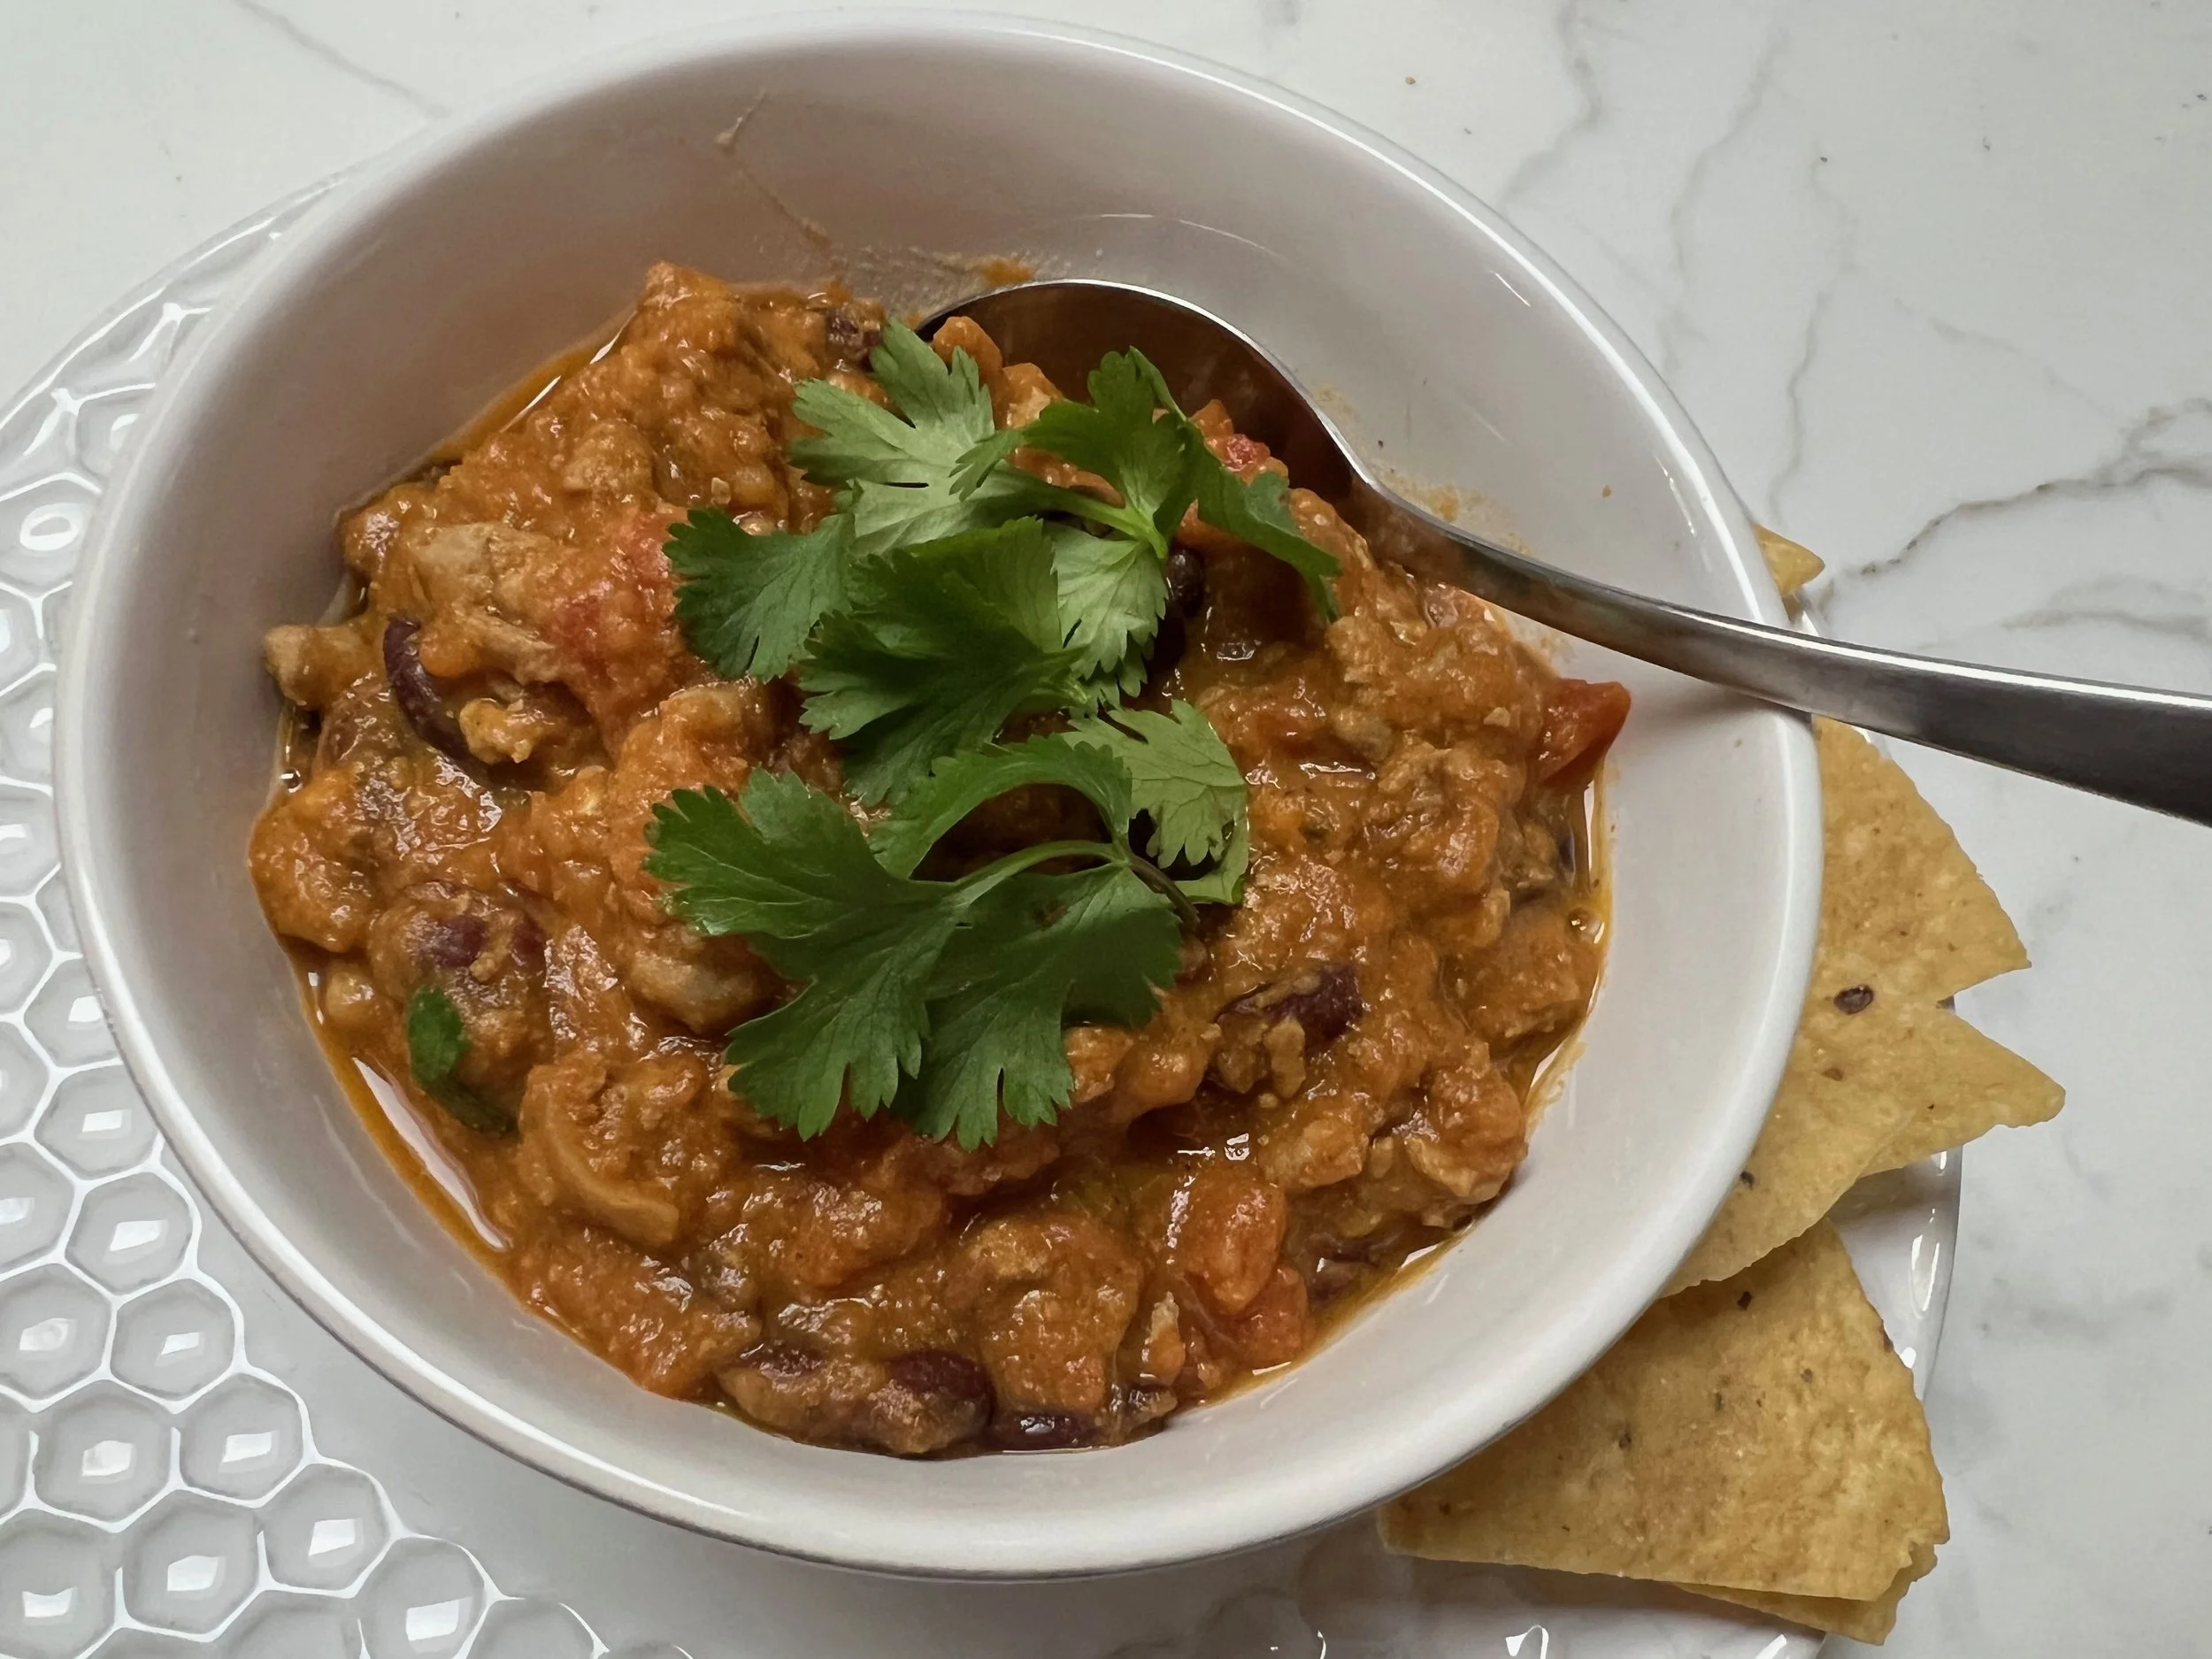
Turkey Pumpkin Chili for the Super Bowl
Southern Living's Turkey Pumpkin Chili

Turkey Pumpkin Chili for the Super Bowl

Turkey Pumpkin Chili is a great recipe for cool autumn and winter evenings, yet can rise to the occasion for an event like the Super Bowl. Easy to make, good for you, and it incorporates a wonderful medley of spices. I immediately thought of cookbook author, Samia Nosrat, whose popular book and cooking herald the virtues of combining “Salt, Fat, Acid, Heat” for maximum flavor in each recipe.

This chili has it all, and is a great way to use canned pumpkin puree leftover from your fall pantry. Make it with kidney and northern beans and pair it with Pumpkin Maple Cornbread. Make it with pinto beans and navy beans and pair it with tortilla chips, salsa, and guacamole. Either way the compliments will flow.


Turkey Pumpkin Chili

by Julia Levy

Lovingly Adapted from Southern Living Magazine, October 2021


Makes 6 servings, Total Time: 30 minutes

Ingredients

  • 2 tablespoons canola oil

  • 1 ½ cups chopped yellow onion (about 1 medium onion)

  • 1 cup chopped poblano chile (about 1 large chile)

  • 1 pound ground turkey

  • 1 tablespoon minced garlic (about 3 garlic cloves)

  • 1 tablespoon chili powder

  • 2 teaspoons smoked paprika

  • 2 teaspoons ground cumin

  • ½ teaspoon dried oregano

  • ½ teaspoon cayenne pepper (optional)

  • 2 cups chicken broth

  • 1 cup canned pumpkin (from 1 [15-ounce] can)

  • 1 (15-ounce) can fire-roasted crushed tomatoes

  • 1 (15-ounce) can pinto beans, drained and rinsed

  • 1 (15-ounce) can navy beans, drained and rinsed

  • 1 ½ teaspoons kosher salt

  • 1 tablespoon fresh lime juice (from 1 lime)

  • Toppings: chopped fresh cilantro, tortilla chips, shredded Mexican cheese blend, sour cream

Directions

  1. Heat oil in a large Dutch oven over medium-high. Add onion and poblano; cook, stirring occasionally, until softened and lightly browned, 6 to 7 minutes. Add turkey, stirring to crumble; cook until no longer pink and starting to brown, about 5 minutes. Stir in garlic, chili powder, paprika, cumin, oregano, and cayenne (if using); cook, stirring constantly, until fragrant and turkey is coated in spices, about 1 minute.

  2. Stir in broth, pumpkin, tomatoes, pinto beans, navy beans, and salt. Bring to a boil over medium-high. Reduce heat to medium-low and simmer, stirring occasionally, until thickened slightly, about 5 minutes. Stir in lime juice.

  3. Ladle chili evenly into bowls, and top with desired toppings.


Please Note: I like using pumpkin puree especially in chili, as it lends a nice creamy base without fat. I used an entire 15-ounce can of pumpkin puree. Add more chicken broth if needed, for your desired chili consistency.


Bon Appétit et Bon Weekend…Bonnie


Vanilla Lavender Canelés

Hosting a Holiday Tea A Few Years Ago

A few years ago I hosted a Holiday Tea for one of my dear garden clubs. The menu was based on 13 Desserts, a South French holiday tradition (Les treize desserts de Noël). One of the star desserts I made was Vanilla Lavender Canelés, one of the most elegant of French pastries and surprisingly easy to make. I remember how delicate these pastries tasted due to the steeping of milk, butter, vanilla bean, and culinary lavender. A delicious nod to Provence and the South France.

Please Note: You will need to have canelé molds, available on line, to make this recipe. It is important to use culinary lavender such as Provence lavender.


Vanilla Lavender Canelés

Recipe by Chelsea Zimmer

Lovingly Adapted from Sweet Paul magazine, Winter 2013


Ingredients:

 2 cups milk

4 tablespoons unsalted butter, plus more for molds

1 vanilla bean, scraped

1 Tbsp dried culinary lavender

½ cup, plus 1 Tbsp flour

2 cups sugar

¼ tsp salt

2 eggs

2 egg yolks

1 Tbsp whiskey

2 cannelé molds (twelve molds to a pan)


Directions:

In a medium pot, bring milk, butter, vanilla bean, and lavender to boil.  Remove from the heat and let steep for 10 minutes.  Meanwhile, in a large bowl whisk the flour, sugar, salt, and eggs.  Strain the warm milk mixture, slowly whisking it into the flour mixture.  Stir in the whiskey.  Let this cool in the fridge until chilled, about an hour. If you want to speed up the chilling process, set your bowl over an ice bath and stir occasionally for 20 minutes.


Preheat the oven to 500 degrees F.  Place 2 cannelé molds on a large baking sheet and lightly brush them with melted butter. Pour the batter 2/3 of the way up each mold. Bake for 5 minutes.  Lower the oven to 375 degrees F. and continue baking for 1 hour until your canelés are golden brown. Turn out onto wire racks while hot and cool to room temperature. Makes 30.

 
Copper Canelé Molds

There Are Various Canelé Molds—Even Copper

The holidays are a great time to bake different specialty desserts and cookies from other countries besides French Canelés, such as Austria’s Linzters, Italy’s Biscotti, and Mexican Wedding Cakes. Be adventurous, they just might become a new tradition for your family.

Bon Appétit et Bon Weekend….Bonnie

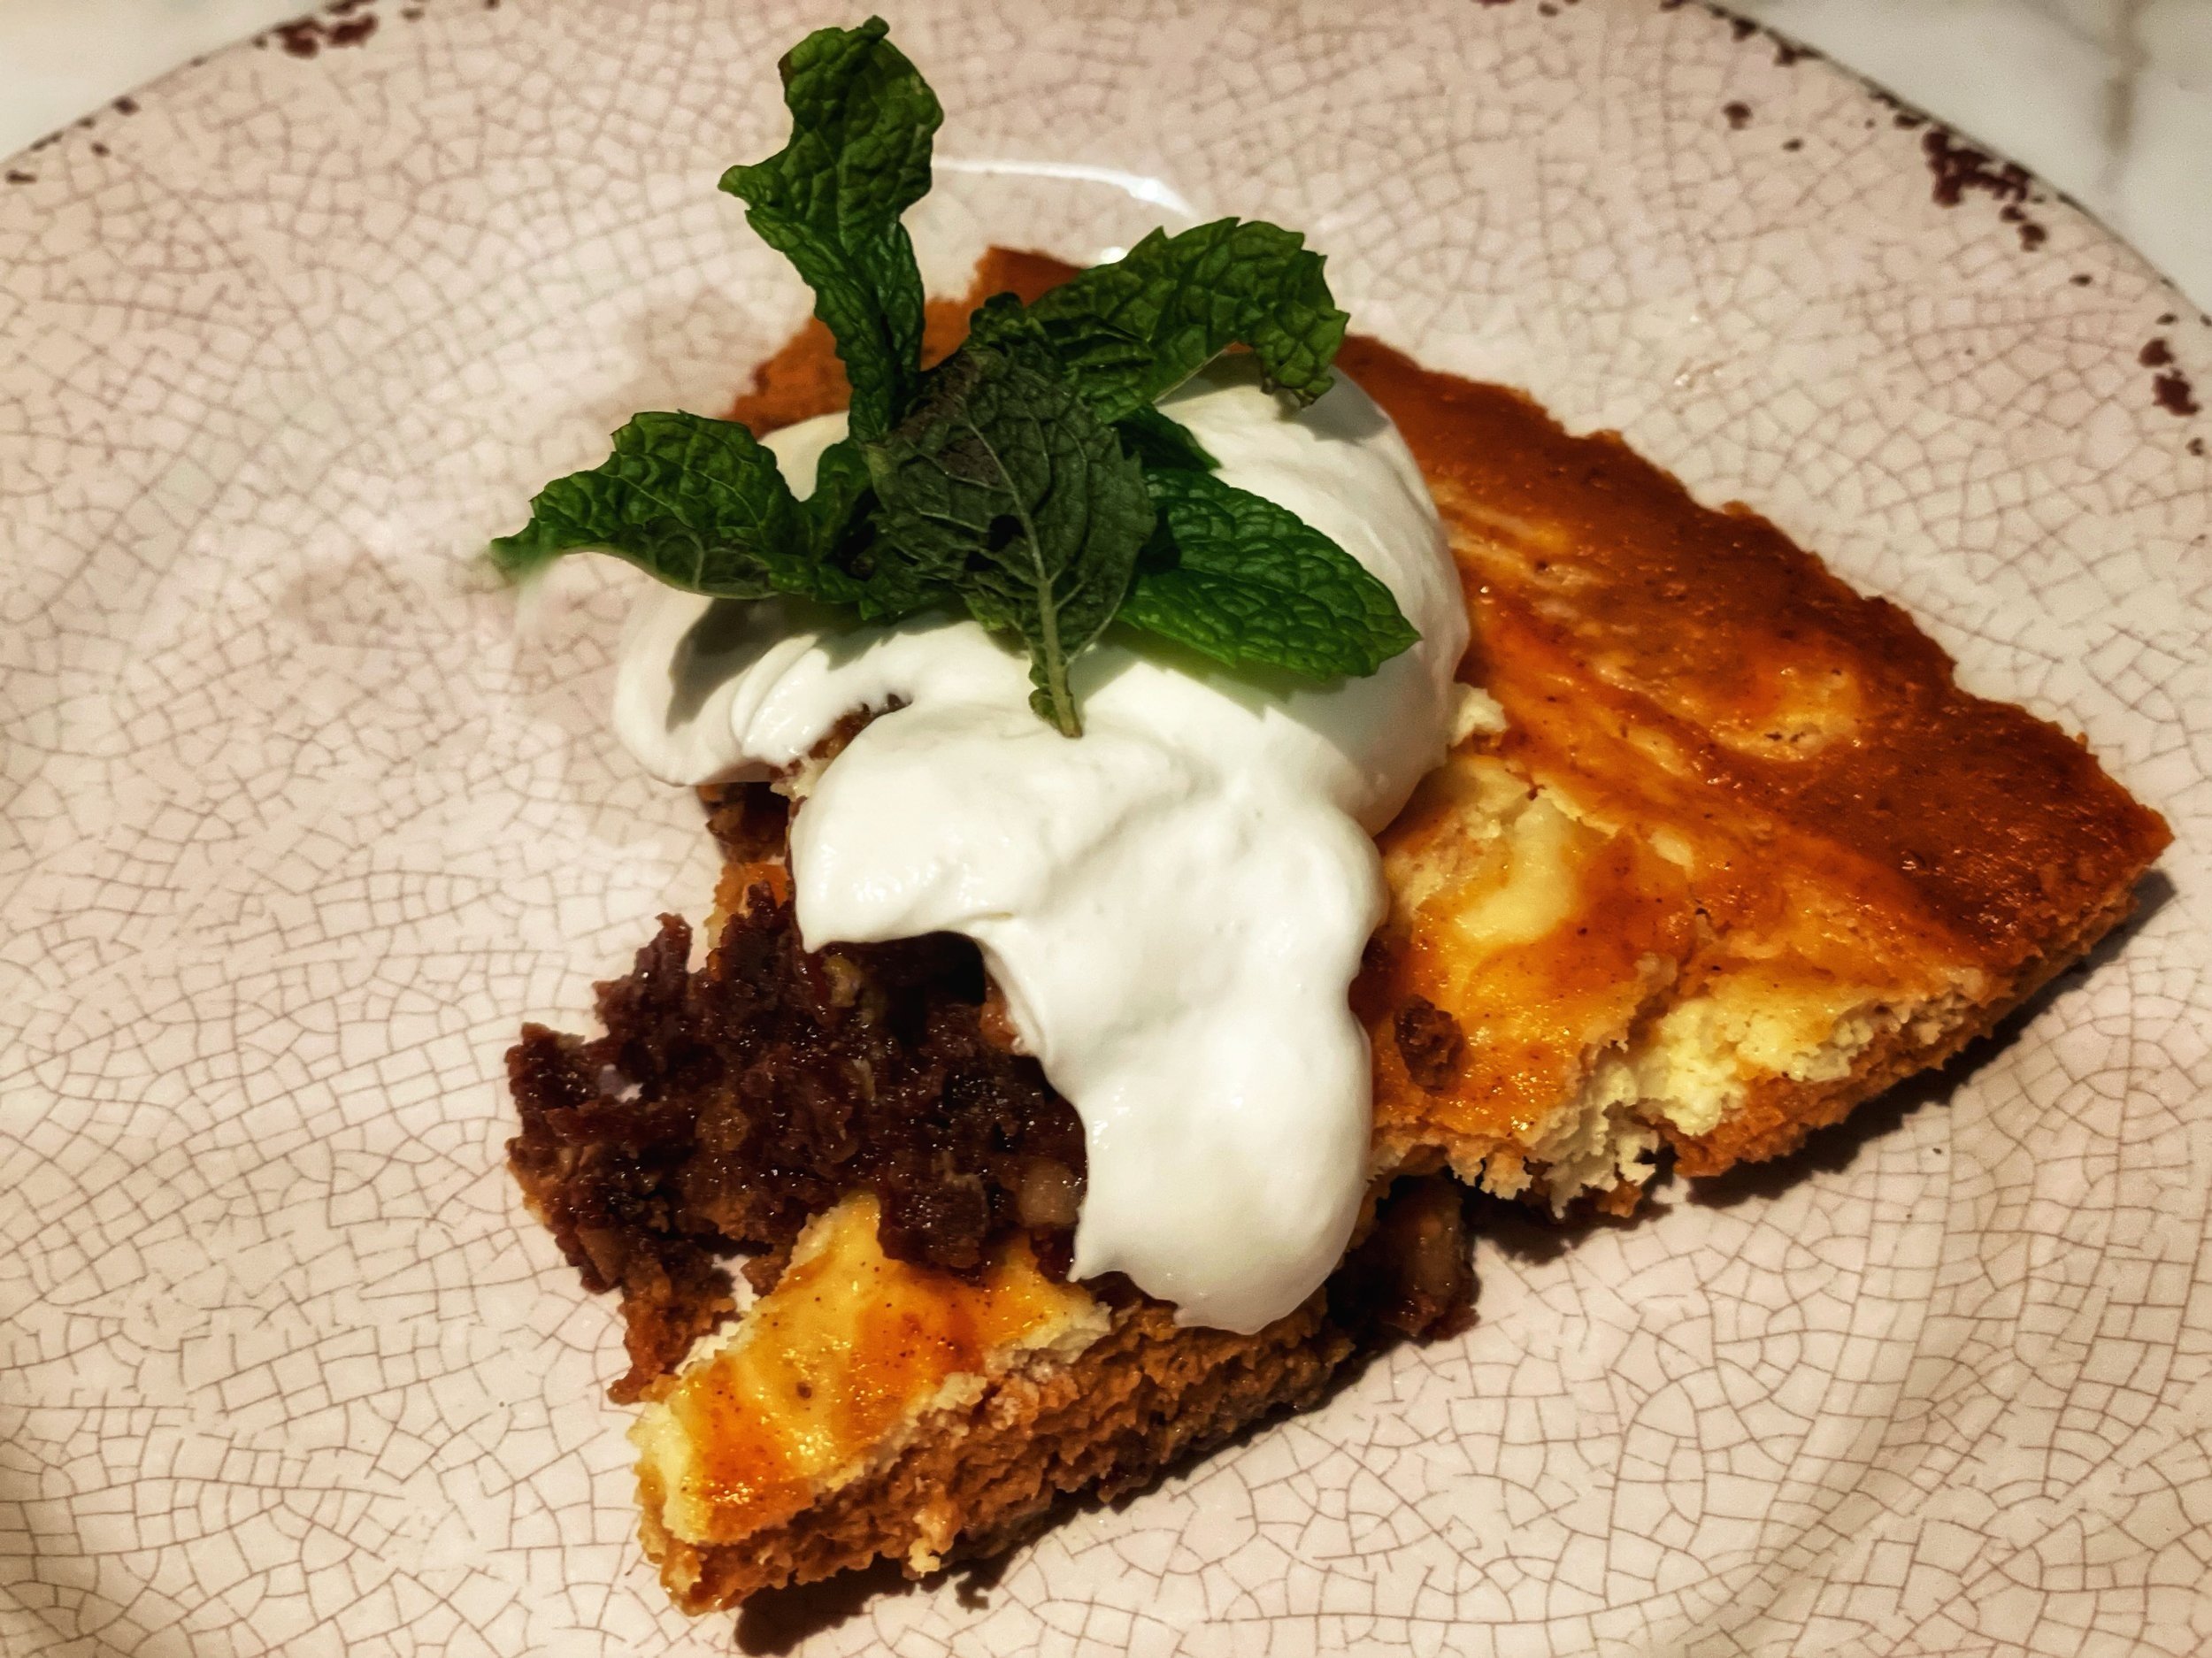
Swirled Pumpkin and Cream Cheese Tart

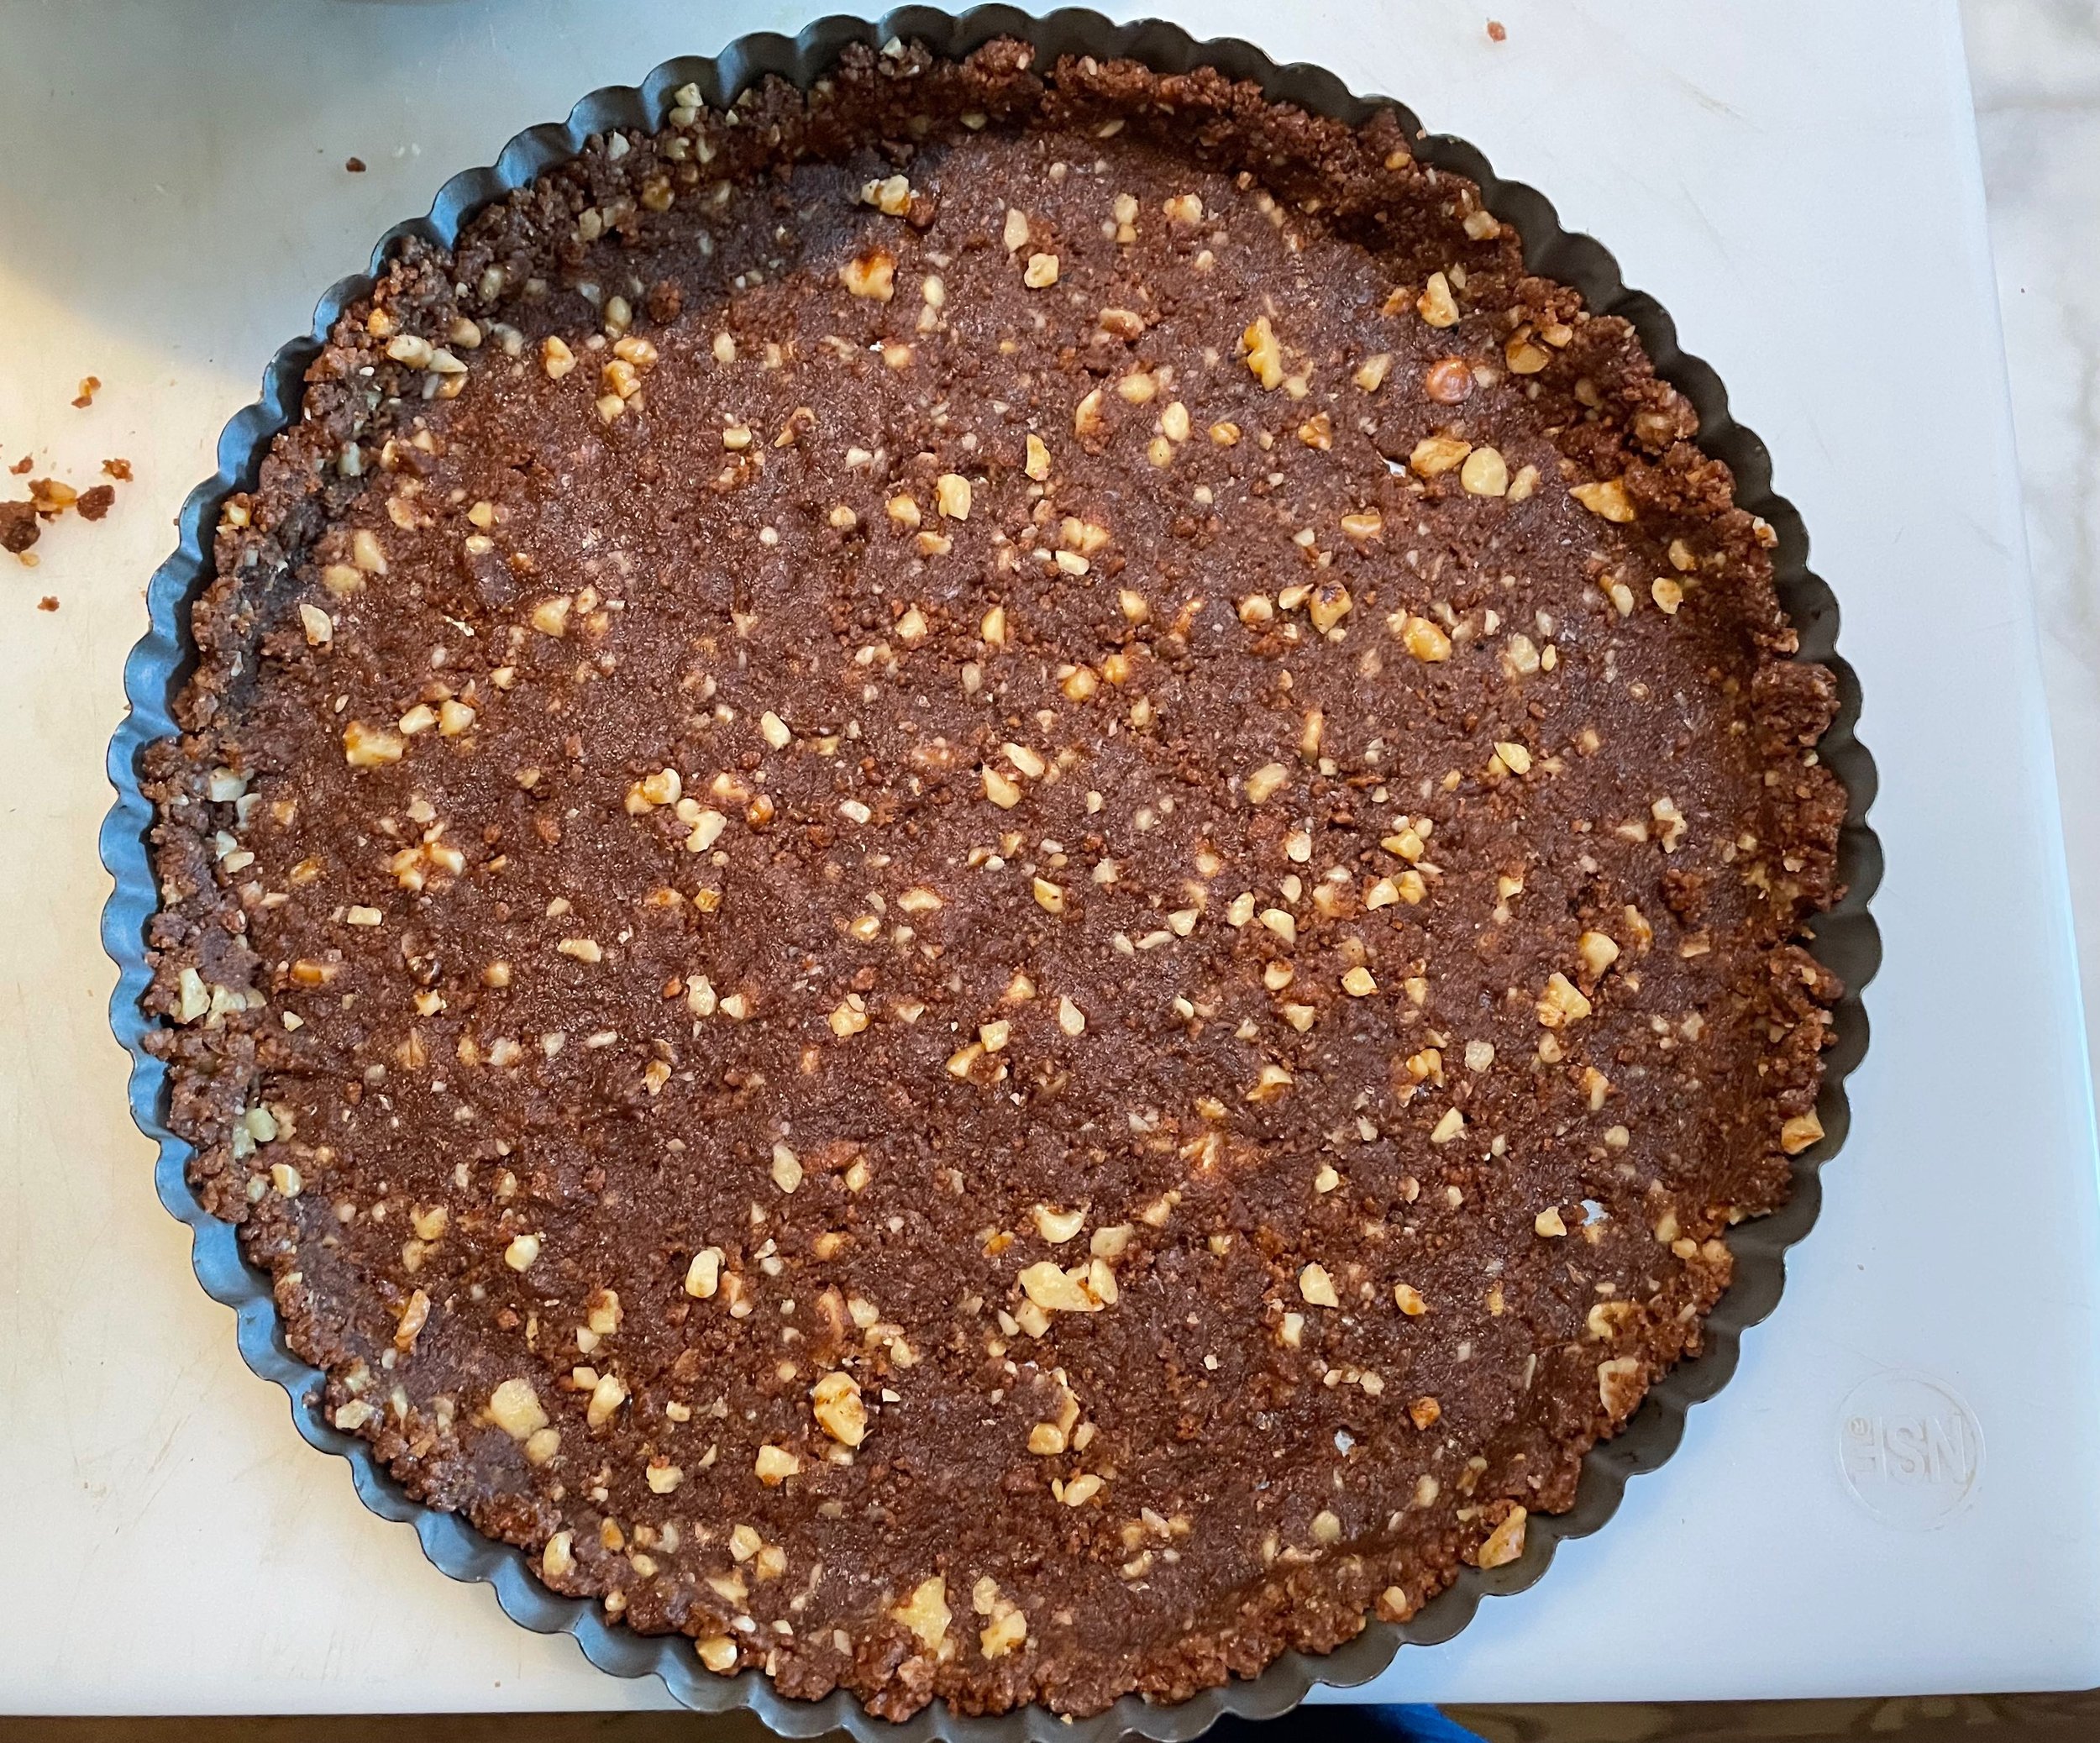
Like A Piece Of Art, This Tart Is Ready For Oven

My eye caught this recipe because I love tarts, I love pumpkin, and I love recipes that have a “wow” factor. This recipe from Victoria magazine 2018 has all three. To plan ahead, this recipe calls for cooling in the refrigerator the finished tart for 4 hours before serving.

Swirled Pumpkin and Cream Cheese Tart

Lovingly Adapted from Victoria 2018 Magazine

Makes 1 (10-inch) Tart

For Crust:

1-3/4 cups crushed gingersnap cookies

1/2 cup finely chopped walnuts

3 tablespoons firmly packed brown sugar

1/4 teaspoon ground cinnamon

6 tablespoons butter, melted


For Pumpkin Filling:

1 (15-ounce) can pure pumpkin , preferably Libby’s

1/2 cup granulated sugar

2 large eggs

1 egg yolk

2 teaspoons pumpkin pie spice

1 teaspoon vanilla extract

3/4 cup heavy whipping cream


For Cream Cheese Swirl:

4 ounces cream cheese, softened

3 tablespoons granulated sugar

1 egg yolk

1/4 cup heavy whipping cream


Garnish:

Sweetened whipped cream

Fresh mint leaves


Directions:

1) Preheat oven to 350 degrees F.

2) For crust: in a large bowl, stir together crushed cookies, walnuts, brown sugar, and cinnamon. Add melted butter, stirring to combine. Press mixture into bottom and up sides of a 10-inch tart pan with removable bottom. Recipe Note: I crushed cookies in a food processor to get a fine crumb texture. I would also add the walnuts in the food processor to get a finer walnut texture for the crust. Place a baking tray with parchment paper under the crust while baking. Bake for 12 minutes. Set aside to cool.

3) For pumpkin filling: In a separate large bowl, whisk together pumpkin, sugar, eggs, egg yolk, pumpkin pie spice, and vanilla extract. Add cream, whisking until mixture is smooth. Pour into cooled crust.

4) To prepare cream cheese swirl: In a medium bowl, beat cream cheese and sugar with a mixer at medium speed until creamy. Add egg yolk, beating until mixture is smooth. Beat in cream. Drop cream cheese mixture over pumpkin mixture by tablespoonfuls. Gently swirl mixture with a knife.

5) Bake until center is set, 35 to 40 minutes. Recipe Note: The tart filling mixture is full in your tart pan. Place a baking tray with parchment paper below your baking tart while baking. Let cool completely. Cover and refrigerate for at least 4 hours before serving. Garnish serving with sweetened whipped cream and fresh mint, if desired. Enjoy!


Bon Appétit et Bon Weekend…Bonnie