Posts in Desserts
Jim Dodge Chocolate Pecan Cake
A Chocolate Slice of Heaven

A Chocolate Slice of Heaven

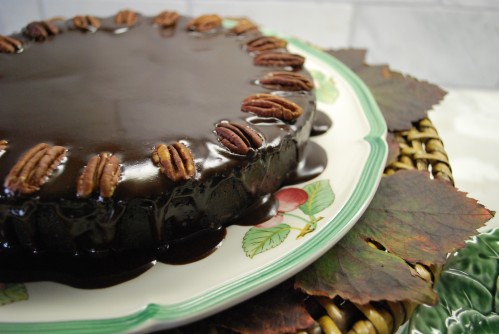
A Chocolate Lover’s Dream Cake! This is a perfect chocolate cake for the holidays. It is dense, dreamy, and dramatic! Reminiscent of European desserts, it is sweet, but not too sweet, and the rich elegant chocolate flavor is first and foremost. It is a very rich cake, so dainty slices go a long way, especially if you are serving additional desserts for your occasion.

 
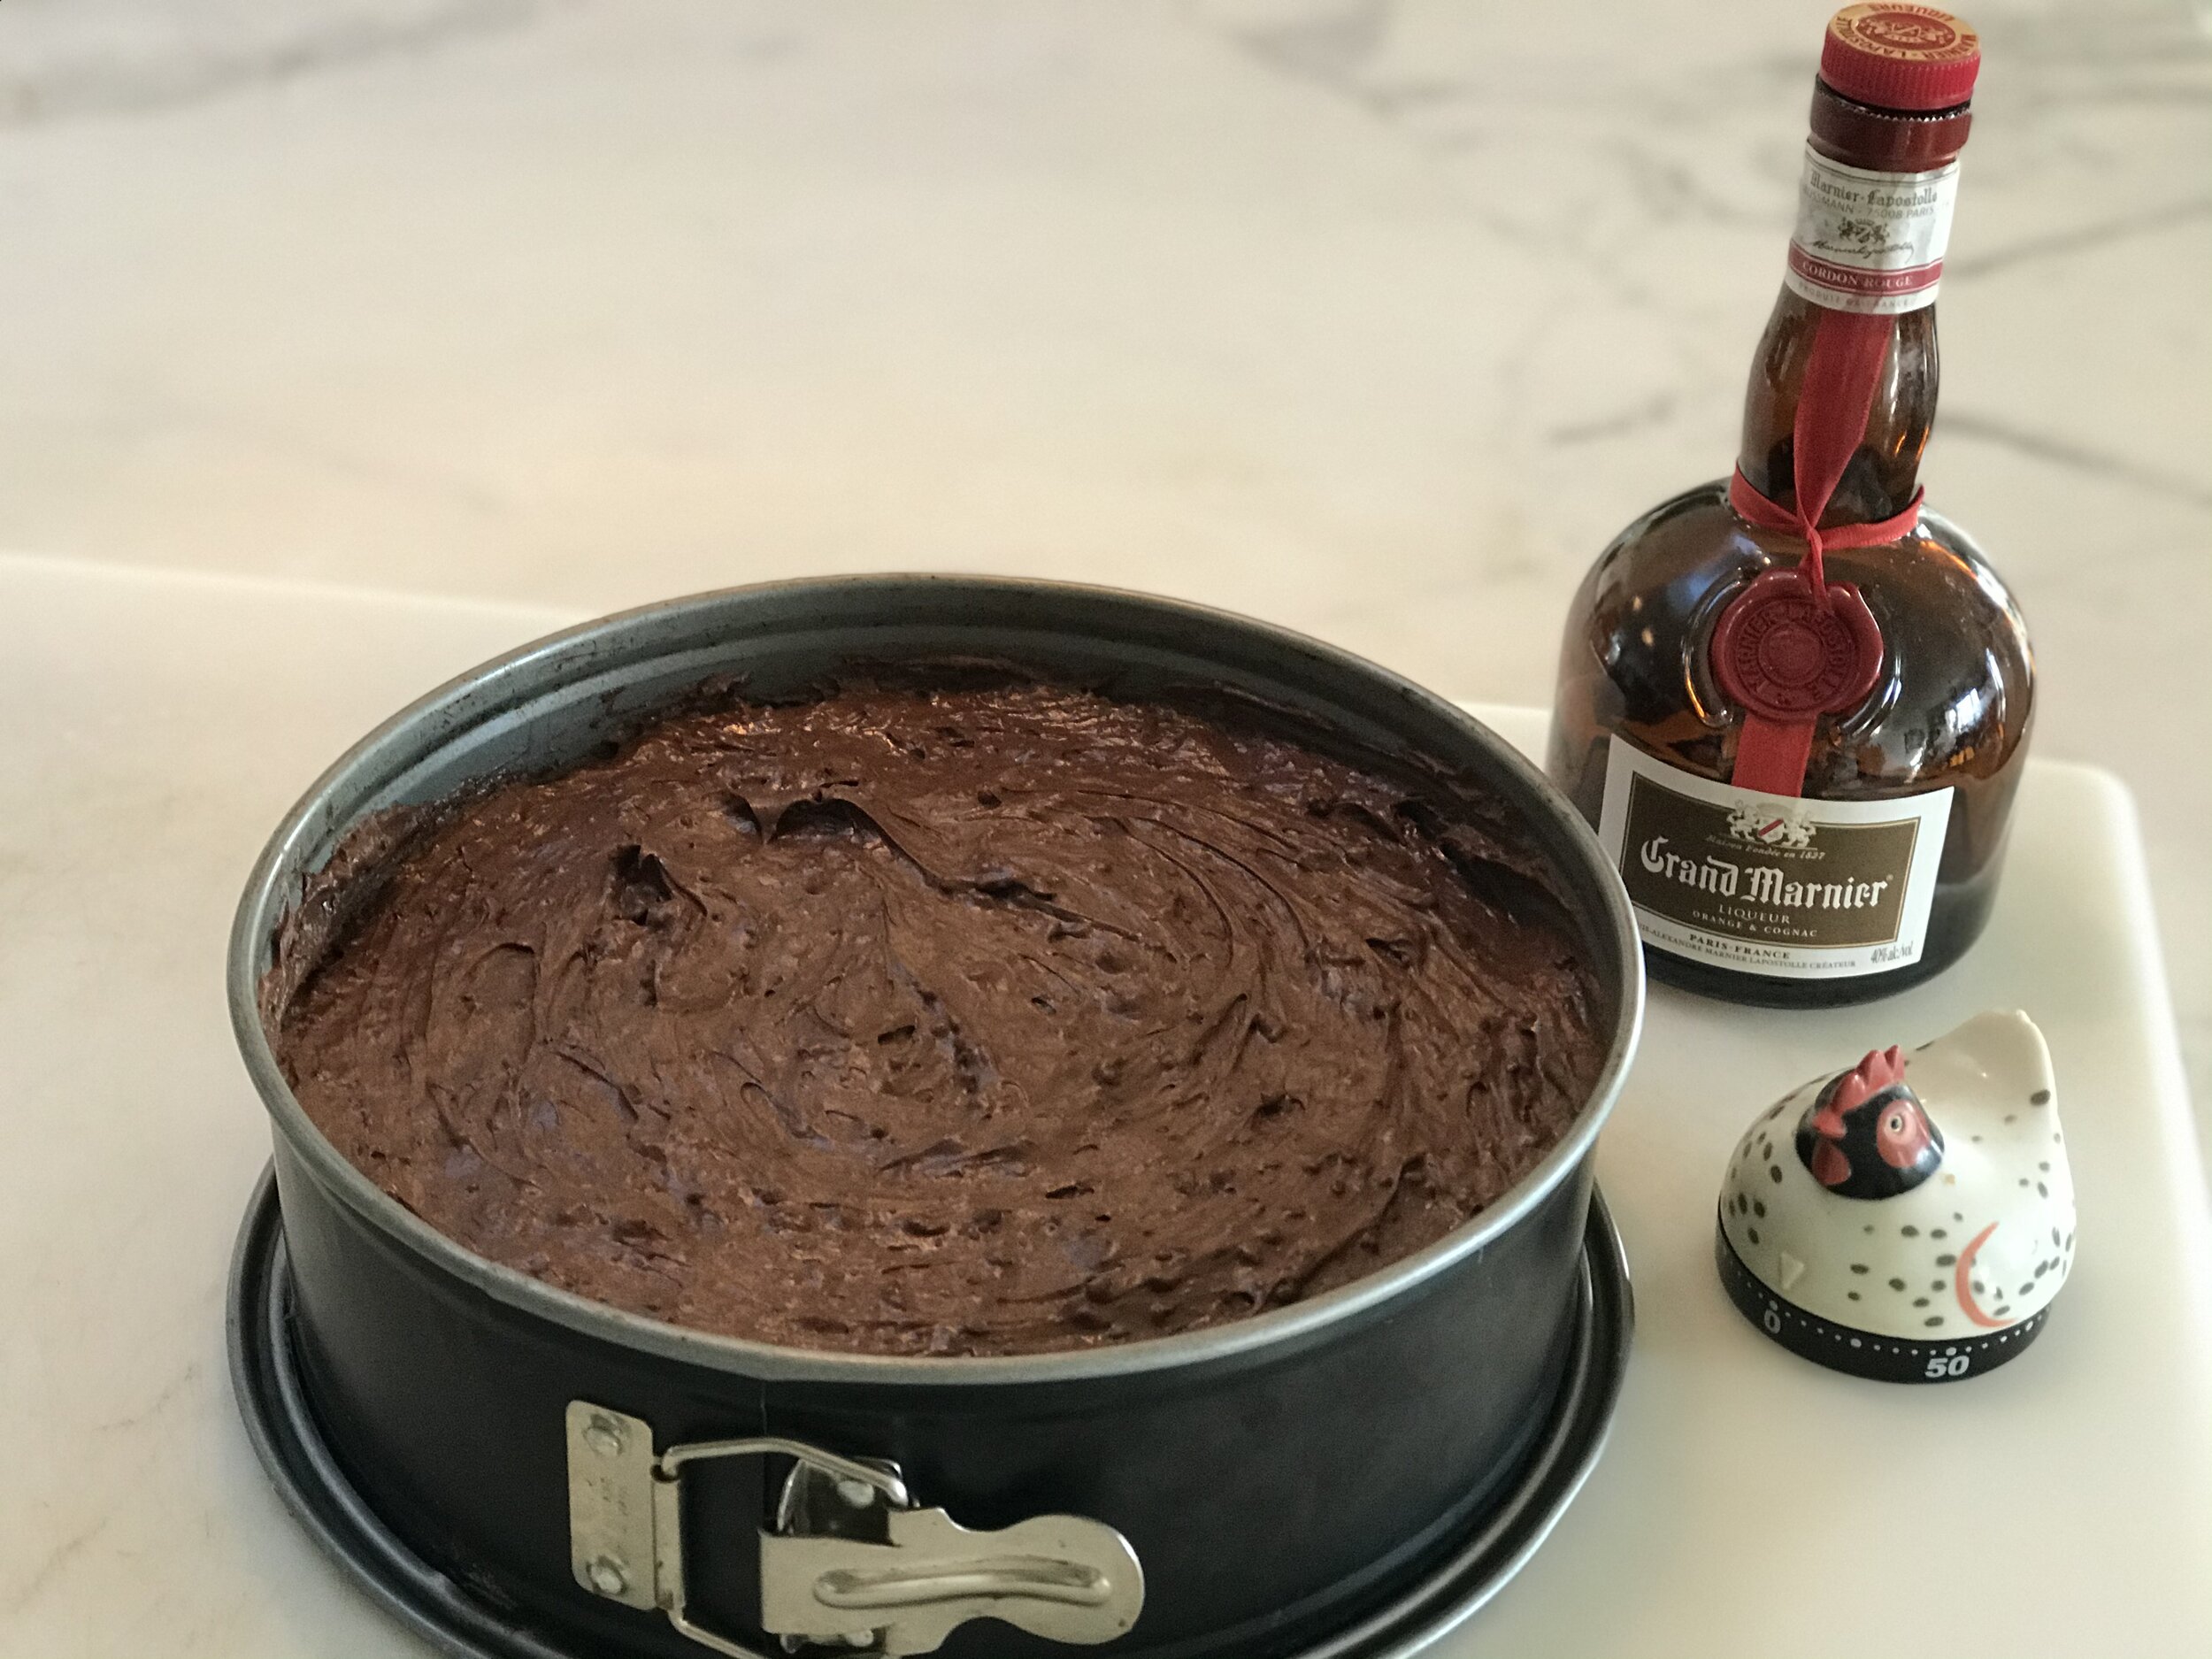
Springform Pan Ready for the Oven

Springform Pan Ready for the Oven

I originally blogged about this recipe back in 2010, Jim Dodge Chocolate Pecan Cake. I hadn’t made it for a couple of years, but remembered how delicious and easy it was to make. The original recipe has an optional 1/3 cup bourbon in it. Being bold this year I replaced the optional bourbon with 1/3 cup Grand Marnier, and added moist, sweet, dried orange slices as a finished top garnish. Wow! Another option you could try is replacing the 1/3 cup bourbon, with a teaspoon of dried Espresso coffee granules and 1/3 cup Kuhlúa.

 
Ready to Serve

Ready to Serve

Obviously, the chocolate in this recipe is very important. Use the best baking chocolate and unsweetened cocoa powder you can find. I used Guittard semi-sweet chocolate and Ghiradelli premium unsweetened cocoa powder for the body of the cake, and Guittard bittersweet chocolate for the glaze. You might be surprised to know that there is no flour in this recipe. Toasted pecans finely ground with a food processor replace the need for flour. Another surprise is the cake is immersed in a simmering water bath while baking. Enjoy!


Jim Dodge Chocolate Pecan Cake Recipe

Recipe Notes: The original recipe calls for coarsely chopped toasted pecans, but it is best to use a food processor to finely grind your pecans. You can add bourbon, Grand Marnier, and Kuhlúa as an option, or leave out entirely. Allow time to leave your cake in the springform pan overnight, after baking and before placing on your serving plate. Serve your cake at room temperature for optimum flavor.

Do you have a holiday dessert that is your family’s favorite? If you make this Jim Dodge Chocolate Pecan Cake, please comment and share!


Fall in France
Basket of Fall Goodies

Basket of Fall Goodies

Last fall I was in the Toulouse, South France area with French General for a week long “France Getaway, Exploring Craft, Markets, and Food in France.” Since none of us can be there this year, I thought I would share with you a few photos from the trip. If you are interested in joining a week with French General, contact owner Karri Meng, as she will be offering these trips once again, when it is permissible. For now, sit back and enjoy a few photos, and imagine your are in France this fall.

 
Two Lucky Lovers Atop an Arch in Saint-Antonin

Two Lucky Lovers Atop an Arch in Saint-Antonin

 
Walled Garden Below Toulouse Lautrec Museum

Walled Garden Below Toulouse Lautrec Museum

 
Learning the Fine Art of the Cheese Board

Learning the Fine Art of the Cheese Board

 
Impromptu Roadside Stop at Apple Farm

Impromptu Roadside Stop at Apple Farm

 
Completing One Craft, An Original French General Apron

Completing One Craft, An Original French General Apron

 
Alfresco Lunch Setting at Local Winery

Alfresco Lunch Setting at Local Winery

 
Cordes-Sur-Ciel Village, One Lucky Cat Lives Here!

Cordes-Sur-Ciel Village, One Lucky Cat Lives Here!

 
Fields of Fall Sunflowers Before Harvest

Fields of Fall Sunflowers Before Harvest

 
Last Evening, Last Dessert

Last Evening, Last Dessert

"Field to Vase" Dinner Tour at Kendall Farms, Fallbrook
Farmgirl Flower Bouquets With Flower Fields As Backdrop

Farmgirl Flower Bouquets With Flower Fields As Backdrop

The setting at host family farm, Kendall Farms in Fallbrook, California, couldn't have been prettier for the "Field to Vase" dinner, second to the last of what has been a whirlwind 10-city dinner tour across the country promoting American-Grown flowers.  

Each dinner has been beautifully orchestrated and it is the ultimate in "al fresco" dining  featuring a four-course "farm to table" dinner, locally grown and made wines, and a special floral designer to highlight the host farm's flowers. Guests are encouraged to mingle with the host flower farmers, featured flower designer, and farm-to-table chef. Goodwill Flower Ambassadors, Kasey Cronquist of Certified American Grown, and Debra Prinzing, Founder of the SLOW FLOWERS movement are present to speak about the evening's event and carry the torch for the growing movement to support and buy American-Grown flowers from your local flower farmers.

Even the Tractor Was Dressed for the Occasion

Even the Tractor Was Dressed for the Occasion

I'm sure not many of the 144 guests who attended knew what was in store for them as they were guided on meandering dirt roads that twisted higher and higher and eventually came  to an open expansive area where the event was held. One continuous table was set in a half circle to take advantage of the postcard-perfect vista and the surrounding landscape of various flowers such as wax flower, sunflowers, myrtle, and silver dollar eucalyptus.

Jason Kendall gave the dinner group a brief history of the farm and tour before dinner commenced. Being a farmer is never easy, and there have been some setbacks such as the 2008 Rice Fire which burned a majority of the farm. What did they do, turned "lemons into lemonade" and the farm has comeback stronger and is thriving. Kendall Farms was Jason's father, Dave Kendall's dream, and the family has embraced his dream. Jason Kendall and his cousin, Troy Conner, are savvy flower farmers in what they grow, how they market, how they build their infrastructure. It was a joy to share this evening with them, and experience first-hand their fortitude, ingenuity, and beauty of their flowers.

Evening Glow Over the Table

Evening Glow Over the Table

Floral Designer for this event was Christina Stembel of Farmgirl Flowers. Chef was Richard Bustos of Heart of the House Catering for Appetizers, Salad, Entree, and Side. Robin McCoy of Robins Nest Desserts, made the Chocolate Torte accompanied with an infused Rosemary Ganache. Fallbrook Winery served their tasty local wines.

VintageGardenGal Turns Seven!

It is hard to believe my blog, VintageGardenGal is celebrating seven years! I started writing VintageGardenGal on September 4, 2008. With over 253 posts under my belt, it has been a wonderful experience to share with all of you. Thank you for your continued interest and support!

How does one celebrate a blog milestone? How about with a celebration "Grape Harvest Cake!" Ever since I read the book, We've Always Had Paris and Provence, A Scrapbook of Our Life in France, by Patricia and Walter Wells, I've always wanted to make Patricia Well's "Grape Harvest Cake" from Chapter 23. She makes this cake often May to September at her Provence Farmhouse, using various seasonal fruit, and grapes from their vineyard in the fall.

My husband, John, and I too, have a vineyard in which we grow Syrah grapes. Well, it is a bit of "lemons to lemonade" story. We did not have a good grape-growing year, low yield, and not even our traditional harvest event. Normally, I am so busy with the harvest, winemaking, family and friends in town that a "Grape Harvest Cake" is nearly out of the question. This year I took our "petite" yield of good fruit, and said, "I am going to make this harvest cake for my blog anniversary, and share it with all of you."

Grape Harvest Cake

Recipe Type:  Dessert
Cuisine: Provence
Author: Patricia Wells
Cook time: 55 mins
Serves: 12

A simple Provence cake that uses seasonal fruit, and grapes in particular in the fall. If you don't grow grapes, use fresh purple grapes such as Champagne grapes. This cake is made with olive oil, typical of Provence, creating a cake that is moist and light. You will need a 9 inch springform pan and an electric mixer fitted with a whisk. Lightly sprinkle powdered sugar over the finished cake as an optional garnish before cutting and serving.

Ingredients

  • 2 large eggs, at room temperature
  • 2/3 cup sugar
  • 1/2 cup extra-virgin olive oil
  • 1/3 cup nonfat milk
  • 1/2 teaspoon vanilla paste ( vanilla extract)
  • 1-1/2 cups unbleached all-purpose flour
  • 3/4 tsp baking powder
  • Pinch of sea salt
  • Grated zest of 1 lemon, and 1 orange, preferably organic
  • 2 pounds small fresh purple grapes (which have to be carefully seeded if they have seeds)

Instructions

  1. Olive oil and flour a springform cake pan. Tap out an excess flour.
  2. Preheat the oven to 375 degrees F.
  3. In the bowl of an electric mixer fitted with a whisk, beat the eggs and sugar at high speed until thick and lemon-colored, about 3 minutes. Add the olive oil, milk, vanilla, and mix just to blend.
  4. Combine the flour, baking powder, and salt into a large bowl. Add the lemon and orange zest and toss to coat the zest with flour. Spoon the flour mixture into the egg mixture and stir to blend. Let this mixture sit for 10 minutes, to allow the flour to absorb the liquids. Stir three-fourths of the fruit into the batter. Spoon the batter into the prepared cake pan, smoothing over the top with a spatula.
  5. Place the pan in the center of the oven and bake for 15 minutes. Remove from the oven and scatter the remaining grapes on top of the cake. Bake until the top is a deep golden brown and the cake feels firm, about 40 minutes more, for a total baking time of 55 minutes.
  6. Remove to a rack to cool. After 10 minutes, run a knife along the side of the pan. Release and remove the side of the springform pan, leaving the cake on the pan base. Serve at room temperature, cutting into thin wedges.
Beautiful Blood Orange

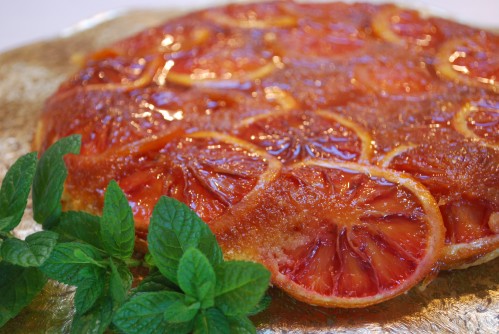
DSC_0660 A few years ago I planted a Moro Blood Orange tree, after making this gorgeous Blood Orange Upside Down Cake adapted from the March 2010 issue Bon Appetit. This recipe is simple to make, and calls for creating it in a skillet. Packed with flavor but not overly sweet, it is a perfect way to end a special meal this time of year.

From this recipe, I knew I needed to have fresh blood oranges from my garden every year. Besides the Moro Blood Orange there are two other blood orange varieties available, Sanguinelli and Tarocco.

For those of you in warm sunny climates that can grow citrus, citrus is ripe and readily available this time of year. Lush citrus, especially the blood orange, can awaken your senses and create instant festivity. Grapefruit, lemons, kumquats, and oranges to name a few citrus types can add surprise and zest appeal to many types of dishes and drinks.

DSC_0432

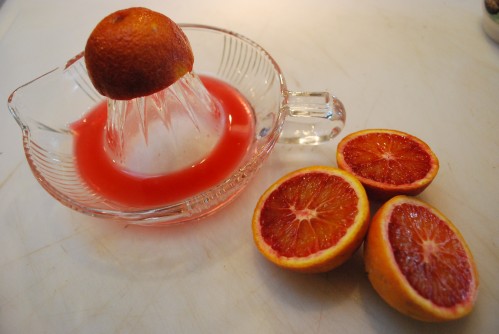
Look how fabulous the Moro Blood Orange is as a juice, or perhaps a ruby garnish. What a great way to make winter vanish in a heartbeat. Blood oranges remind me too of this special time year--Mardi Gras Carnival with all of the hoopla and joyous celebration.

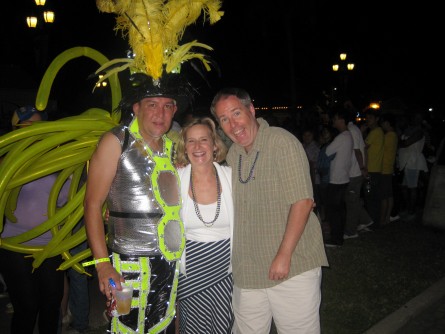
IMG_5298 Recently, my husband John, and I had the opportunity to experience first hand the fun and excitement surrounding the celebration of the evening Carnival Parade in the streets of downtown Oranjestad, Aruba in the Dutch Carribean.

Jim Dodge's Bourbon Chocolate-Pecan Cake

Jim Dodge Chocolate Pecan Cake

I'm a big fan of French author Mireille Guiliano who burst onto the publishing scene in 2005 with her book, French Women Don't Get Fat. She has gone on to write several more books, including French Women for All Seasons: A Year of Secrets, Recipes, & Pleasure (Vintage) Mireille Guiliano (and as I also aspire to) lives her life by the seasons. In French Women for All Seasons: A Year of Secrets, Recipes, & Pleasure (Vintage), she writes chocolate isn't strictly seasonal, so it can be certainly be enjoyed year-round, but she emphasizes that chocolate lends itself much better to the fall and winter seasons. I agree, and therefore must share with you one of my favorite winter desserts, Jim Dodge's Bourbon Chocolate-Pecan Cake.

Jim Dodge's Bourbon Chocolate-Pecan Cake
I was given this rich dessert recipe from my dear friend, Janet Leutel, nearly a decade ago. Janet annually compiles a short softcover cookbook of her favorite recipes over the past year, and gives it as a special gift around the holidays.

This is a very rich, dense flour-less cake. Use good chocolate and cocoa powder. The "bourbon" ingredient is optional in this recipe. I generally make it without. Enjoy!

Ingredients:
2 cups pecan halves
3/4 pound unsalted butter (divided)
12 oz. bitter or semi-sweet chocolate (divided)
1 and 1/2 cups sugar
1 cup unsweetened cocoa powder
6 eggs
1/3 cup bourbon (optional)

Method:
Spread pecan halves on a baking sheet and toast in 350 degree oven until fragrant, about 10 minutes. Set aside and cool. Separate out 1/2 cup for decorating top of cake layer. Grind until coarse, 1 and 1/2 cups pecans in food processor, which will be added to the cake mixture later.

Cut circle of parchment to fit bottom of 9" spring form pan. Butter pan well, and line with parchment circle.

Melt 1/2 pound butter and 8 oz. chocolate in top of double boiler over simmering water. Stir until very smooth and set aside to cool.

Mix sugar, cocoa, and eggs just until well combined. Add melted chocolate, stirring to combine. Add coarsely chopped 1 and 1/2 cups pecans, and stir in. Add bourbon if you are using it, as this point.

Pour batter into prepared spring form pan and place this pan into a larger pan with simmering water. Water level should come to 1/2 of spring form cake pan. Bake at 350 degrees in oven until cake is firm to the touch, about 50 minutes.

Cool cake on wire rack, and remove side of the pan. Leave parchment paper on and wrap in plastic wrap and refrigerate overnight. (I like to refrigerate cake in spring form pan overnight).

Remove cake from refrigerator, and place upside down on wire rack, or serving dish. Peel off parchment paper and drizzle with glaze. Drizzle the sides, and then the top. Smooth with a spreader. Decorate the top of cake with remaining pecans.

Glaze Recipe:
4 oz bittersweet or semi-sweet chocolate
1/4 pound unsalted butter

Melt chocolate and butter in a double boiler over simmering water. Stir until completely smooth. Cool about 5 minutes, before spreading on cake.

Please share if you have a traditional dessert you make every holiday. Please share if you are known for a signature gift you make for others each holiday.

Attention Chocolate Lovers!

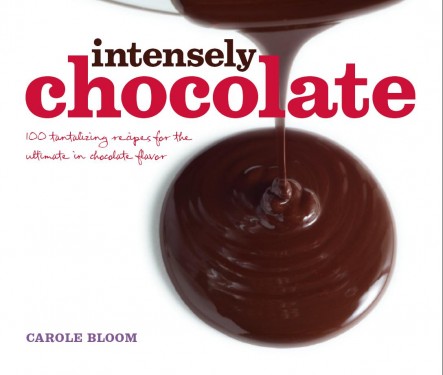
Attention chocolate lovers!  Carole Bloom's latest cookbook is out, Intensely Chocolate, 100 scrumptious recipes for true chocolate lovers. (Wiley 2010)

Carole notches up the "chocolate factor" creating over 100 recipes with many different types and forms of chocolate.  Many of her recipes in her latest book, call for high cacao, high content chocolate, which intensifies chocolate flavor. Written for bakers of all levels, Carole graciously walks us through the different types of chocolate, equipment, and best techniques. Nine different chapters cover every one's chocolate favorite something.

I read Carole's new book, Intensely Chocolate, like a novel, gliding through each chapter, enjoying the fresh and upbeat easy format and size, and relishing all of the mouthwatering photographs.

It was hard to decide which recipe to make first. I decided on "Milk Chocolate-Dulce de Leche Bars" in Carole's Cookie Chapter. Coincidentally, she said it is one of her favorite recipes, too. Enjoy!
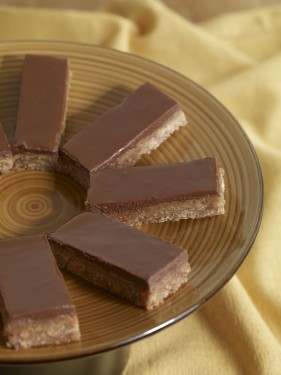
Milk Chocolate-Dulce de Leche Bars

Milk Chocolate Dulce de Leche Bars

These potent bars have three layers, a coconut and brown sugar crust, a Dulce de Leche (caramel) filling, and a glaze of dark milk chocolate. You can cut these into smaller bite-size pieces, if you like.

Makes 2 ½ dozen 1 x 2 ½-inch bars Special equipment: 9 x 13-inch baking pan

Crust: 4 ounces (8 tablespoons, 1 stick) unsalted butter, cut into small pieces 1 cup (2 ounces) sweetened shredded coconut 1 cup (6 ounces) firmly packed light brown sugar 1 cup (4 ½ ounces) all-purpose flour 1 teaspoon baking powder 1/8 teaspoon kosher or fine-grained sea salt

Dulce de Leche filling: 1 can (14 ounces) sweetened condensed milk 1 ounce (2 tablespoons) unsalted butter, softened 1 tablespoon light corn syrup

Glaze: 13 ounces dark milk chocolate (38% to 42% cacao content), finely chopped

Position a rack in the center of the oven and preheat the oven to 350°F. Line the inside of a 9 x 13-inch baking pan with parchment paper, pressing it into the pan, and letting it hang over the short edges.

For the crust, melt the butter in a 1-quart saucepan over low heat. Place the coconut, brown sugar, flour, baking powder, and salt in a 2-quart mixing bowl and toss to blend thoroughly. Pour the melted butter into this mixture and use a rubber spatula to stir until the dry ingredients are moistened. Transfer the mixture to the prepared baking pan and press it in evenly, making sure it reaches into the corners.

Bake the crust for 15 to 18 minutes, until light golden and set. Remove the baking pan from the oven and cool it completely on a rack.

For the Dulce de Leche filling, combine the sweetened condensed milk, the unsalted butter, and the corn syrup in a 2-quart heavy-duty saucepan. Stir the mixture constantly over medium heat until it thickens and turns a deep beige color. Pour the filling over the cooled crust, using an offset spatula to spread it evenly. Return the baking pan to the oven and bake for 12 to 14 minutes, until the filling begins to bubble. Remove the baking pan from the oven and transfer it to a rack to cool completely.

For the glaze, melt the dark milk chocolate in the top of a double boiler over warm water, stirring occasionally with a rubber spatula. Or melt the chocolate in a microwave-safe bowl on low power for 30 seconds bursts, stirring between each burst. Remove the top pan or bowl of the double boiler, if using, and wipe it dry.

Pour the melted chocolate over the top of the Dulce de Leche filling and use an offset spatula to quickly spread it evenly. Tap the pan gently on the counter top to release any air bubbles in the chocolate. Chill the pan for 10 minutes to begin to set the chocolate then let it set completely at room temperature.

Lift the bars from the pan by holding the edges of the parchment paper then peel the parchment paper away from the sides of the bars. Use a chef’s knife dipped in hot water and dried to trim off all of the edges. Use a ruler to help measure where to cut and cut into 1 x 2 ½-inch bars, cleaning the knife between each cut.

Serve the bars at room temperature.

Keeping Store the bars in an airtight container between layers of waxed paper at room temperature up to 3 days.

Streamlining The crust and the filling can be baked the day before adding the dark milk chocolate glaze.

Carole Bloom is a personal friend, and an accomplished European-trained pastry chef, confectioner, chocolatier, and best selling author, speaker, and teacher. For more information on Carole, please visit Carole Bloom.

Please share if you have a "chocolate lover" or "cookie monster" in your life.

Bake With Bloom, Bite-Size Desserts

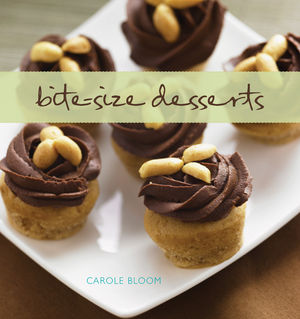
Carole Bloom's Latest Book, Bite-Size Desserts If you or any of your loved ones has a sweet tooth, you must know about my long time dear friend and baking expert, Carole Bloom. Carole is a European-trained pastry chef, confectioner, chocolatier, and best selling author of nine cookbooks.
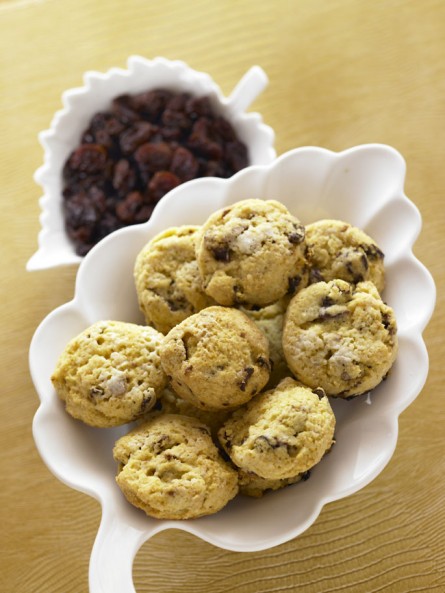
Her latest cookbook, just released from Wiley in April 2009, is Bite-Size Desserts. Carole is riding the wave of one of the hottest food trends in this country today, small desserts that deliver big delectable flavors. Bite-Size Desserts, has a lively and lovely format, beautiful mouth-watering photos, and a total of 87 tantalizing recipes.

I had her book one week, and had already gleefully made "cornmeal-dried cherry scones", "wicked brownie bites", and "raspberry-blueberry crisps".  Below is a special treat for all of you,  Carole Bloom's "Cornmeal-Dried Cherry Scones" recipe. Enjoy. For book and purchase information, click on, Bite-Size Desserts: Creating Mini Sweet Treats, from Cupcakes and Cobblers to Custards and Cookies

Carole Bloom's "Cornmeal-Dried Cherry Scones"

"I love to use cornmeal in baking because it provides lots of texture. It works deliciously with the dried tart cherries in these scones. These are lovely for breakfast, afternoon tea, and as a snack. They taste best when warm and can be reheated in a 350 degree oven for 7-9 minutes."

MAKES 2 dozen 2-inch round scones.

Ingredients: 3/4 cup (3-1/4 ounces) all purpose flour 2/3 cup (4 ounces) fine yellow cornmeal 1 tablespoon (1/4 ounce) plus 1 teaspoon granulated sugar 1-1/2 teaspoons baking powder 1/8 teaspoon kosher or fine-grained sea salt 2 ounces (4 tablespoons, 1/2 stick) unsalted butter, chilled 2/3 cup (3-1/2 ounces) dried tart cherries 1/3 cup plus 2 teaspoons heavy whipping cream 1 extra-large egg, at room temperature 1/2 teaspoon pure vanilla extract

Adjust the oven racks to the upper and lower thirds and preheat the oven to 350 degrees F. Line 2 baking sheets with parchment paper or nonstick liners.

*** Pulse together the flour, cornmeal, 1 tablespoon of sugar, baking powder, and salt in the work bowl of a food processor fitted with a steel blade.

*** Cut the butter into small pieces and add it to the four mixture. Pulse until the butter is cut into very tiny pieces, about 30 seconds. The texture should be sandy with very tiny lumps throughout. Add the dried cherries and pulse a few times to mix.

*** Use a fork to lightly beat 1/3 cup of cream with the egg and vanilla in a liquid measuring cup. With the food processor running, pour this mixture through the feed tube and process until the dough forms itself into a ball, about 30 seconds.

*** Dust a large piece of waxed or parchment paper with flour and turn the dough out onto it. Knead the dough briefly and form it into a round about 3/4 inch thick. Dip a 1-1/2 inch round plain-edge biscuit cutter in flour and use it to cut straight down through the dough and lift straight up, without twisting, to form the scones. Twisting seals the edges of the dough and keeps the the scones from rising well as they bake. Gather the scraps together, knead briefly, and roll and cut the remaining dough into scones. Transfer the scones to the lined baking sheets, leaving at least 1 inch of space between them so they have room to expand as they bake.

*** GARNISH

Brush the tops of the scones with the remaining 2 teaspoons of cream, taking care that it doesn't run down the sides and under the scones. If it does, wipe it up because it can cause the bottoms of the scones to burn. Lightly sprinkle the tops of the scones with the remaining 1 teaspoon sugar.

*** Bake for 9 minutes. Switch the baking sheets and bake another 9 minutes until the scones are light golden. Remove the baking sheets from the oven and cool the scones completely on the baking sheets on racks.

*** KEEPING Store the scones in an airtight plastic container between layers of waxed paper at room temperature up to 4 days. To freeze up to 4 months, wrap the container tightly in several layers of plastic wrap and aluminum foil. Use a large piece of masking tape and an indelible marker to label and date the contents. If frozen, defrost the scones overnight in the refrigerator and bring to room temperature before serving.

MAKING A CHANGE Add 1/3 cup of coarsely chopped toasted walnuts or pecans with the cherries. Replace the dried tart cherries with dried cranberries or dried blueberries.

Congratulations Carole, on your new Bite-Size Desserts cookbook! It is such a delightful cookbook to read, as well as bake with. Your flavor combinations are genius. Please visit www.carolebloom.com for more information on her cookbooks, classes, and schedule.